Real Deal Guacamole

I love Guacamole… Who doesn’t?  If you don’t,  feel free to call me… we gotta talk.  Guacamole is one of those things that can transform a simple taco or fajita into “otherworldly”.  You can also just load up some chips or crunchy bread with some and you have an amazing appetizer.  I don’t know how many times Ive been to a restaurant though and it just isn’t that good.  I mean seriously… how can you screw this up?  Trust me guys, you follow these steps and you will have some serious “guac”.  DSC_0268

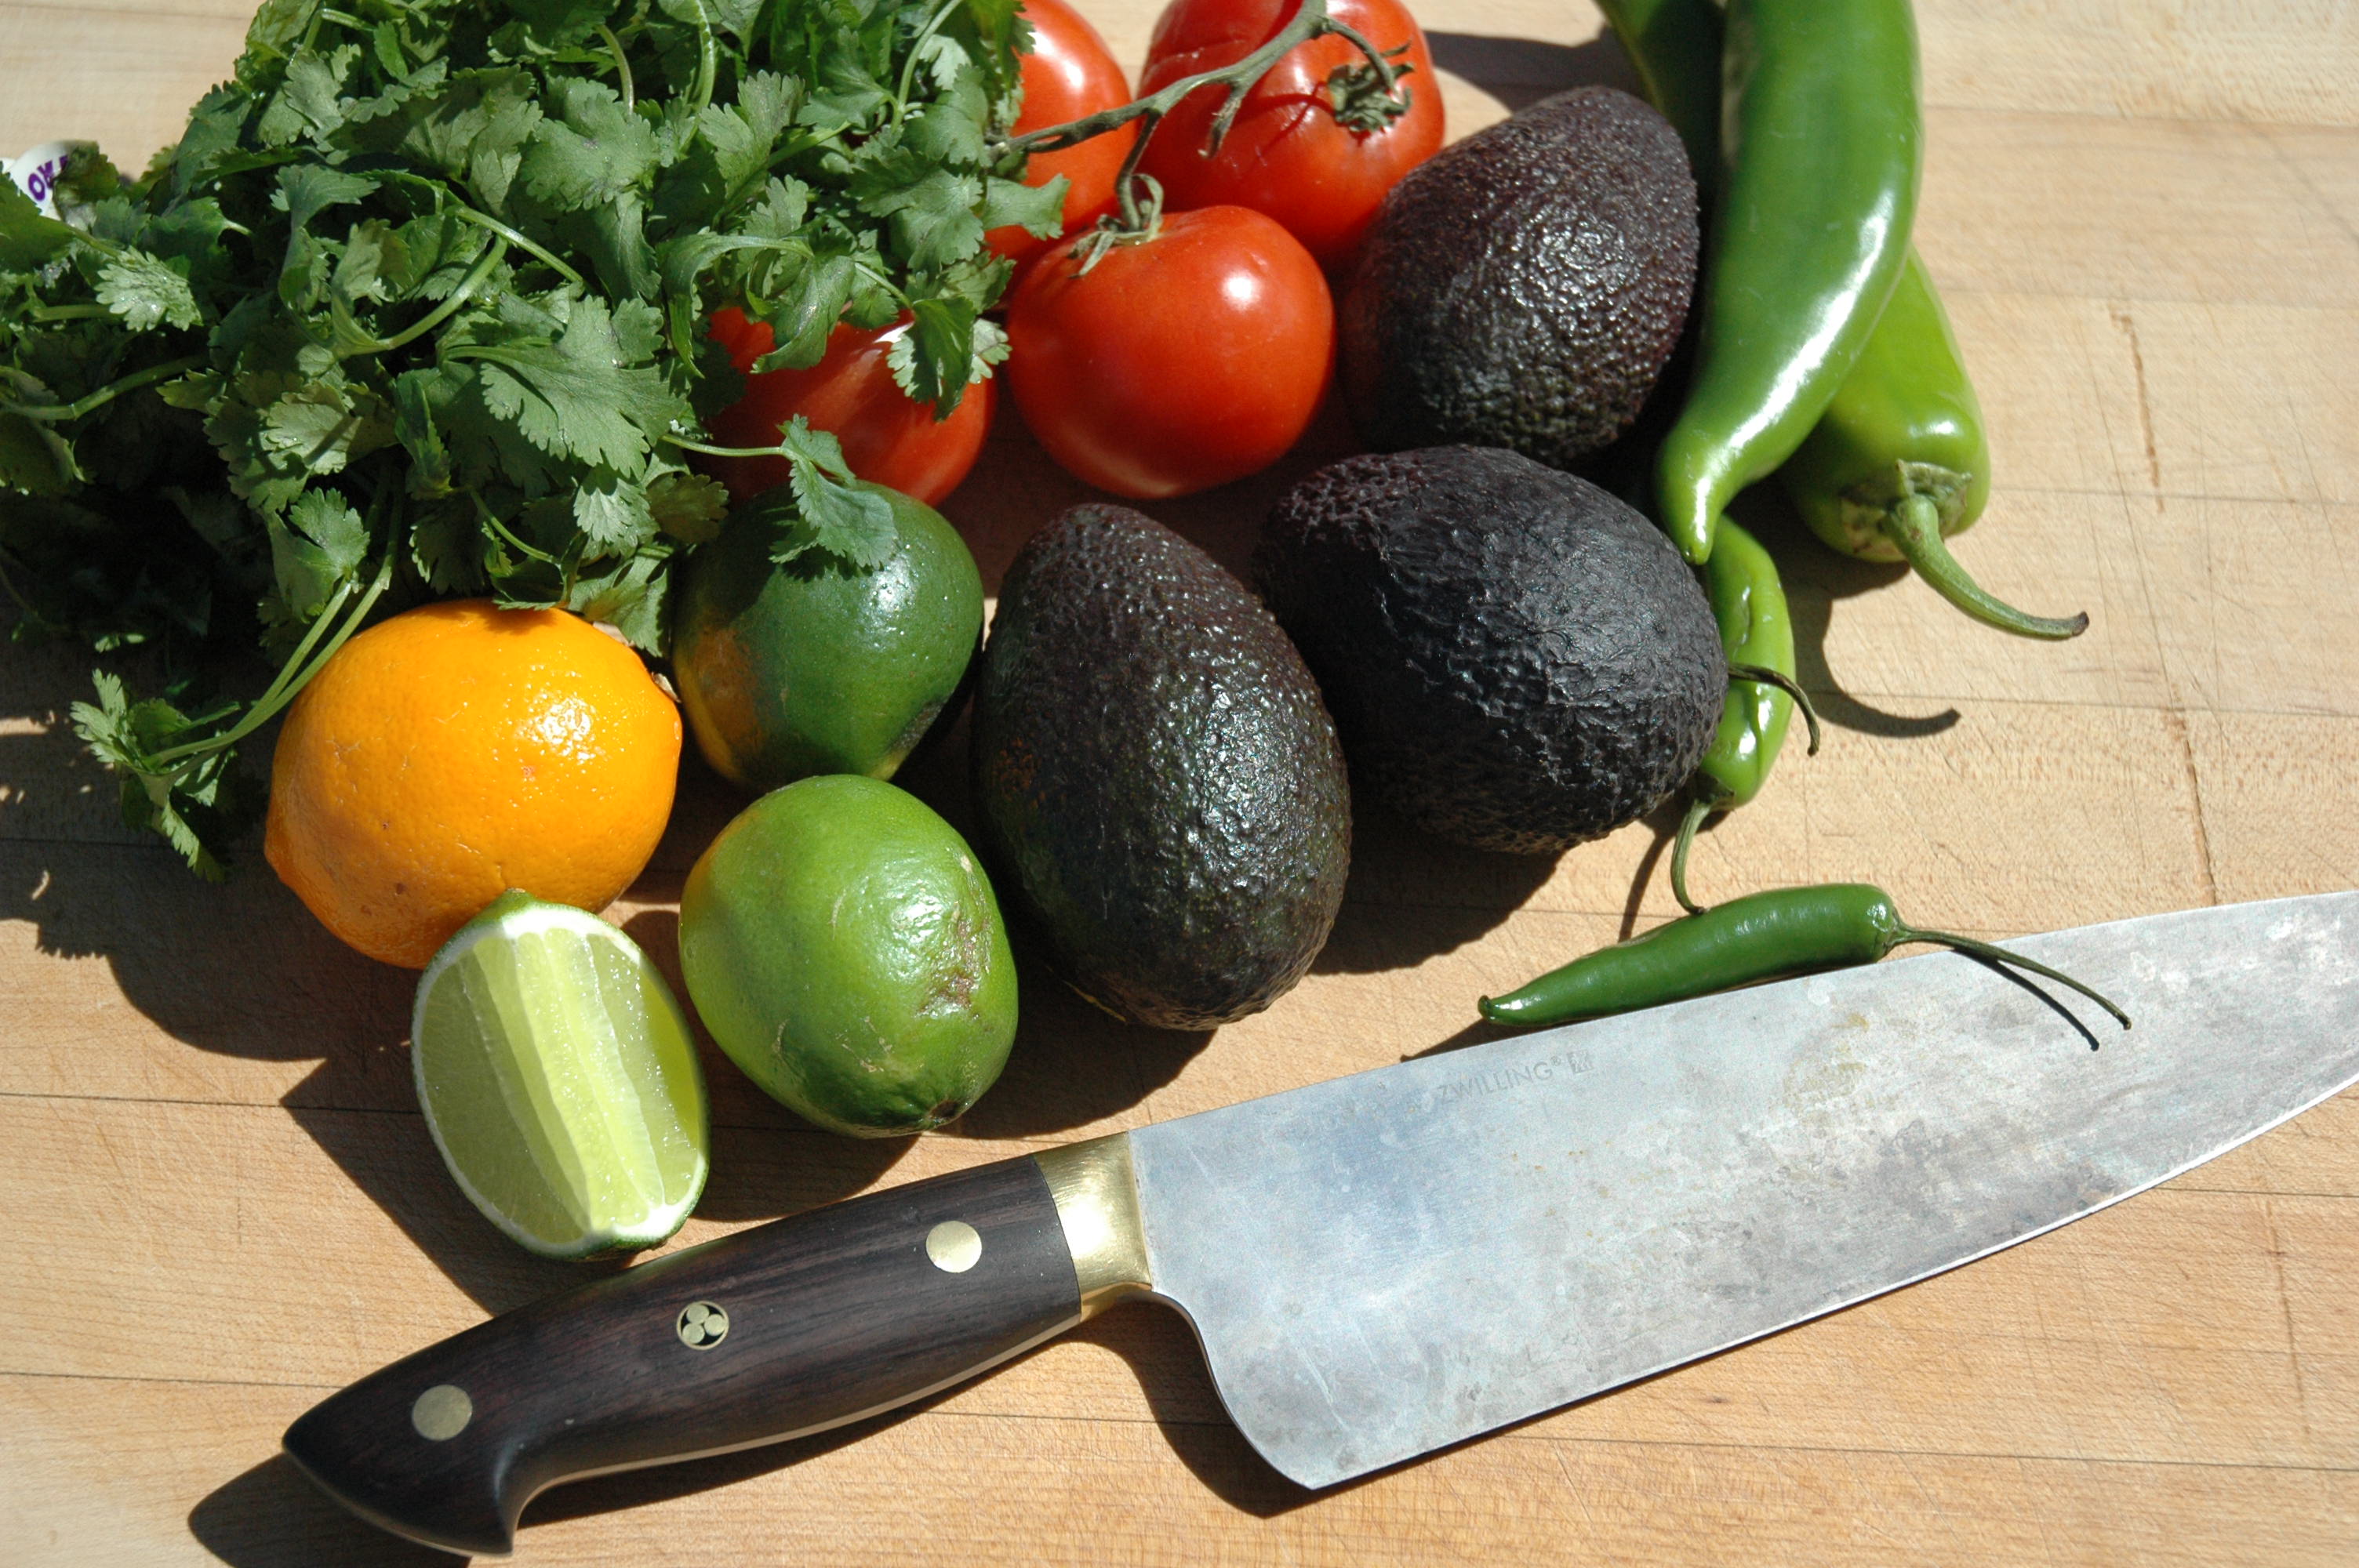
First gather your cast of characters.  Its very important to get the freshest ingredients possible ( but you knew that already, right?).  Make sure the avocados are ripe and ready to use ( when you squeeze them a bit they “give”).

I have a confession to make before I go any further.  See those tomatoes in the photo?  They look pretty don’t they?  Guess what? I didn’t use them for this recipe.  Why in the heck are they in the photo if I’m not going to use them?  Well, first off,  I needed some contrast for the photo and secondly  tomatoes normally do go in guacamole so I put these stunt tomatoes in for esthetics only… but I don’t use fresh tomatoes unless they are at their peak ( ie summer) and you shouldn’t either.  If you want your guac to shine use canned tomatoes.  HUH?  Yes, I’m telling you the truth.  I prefer San Marzanos.  They are the best and are worth every penny.  Go get you a few cans NOW. DSC_0280

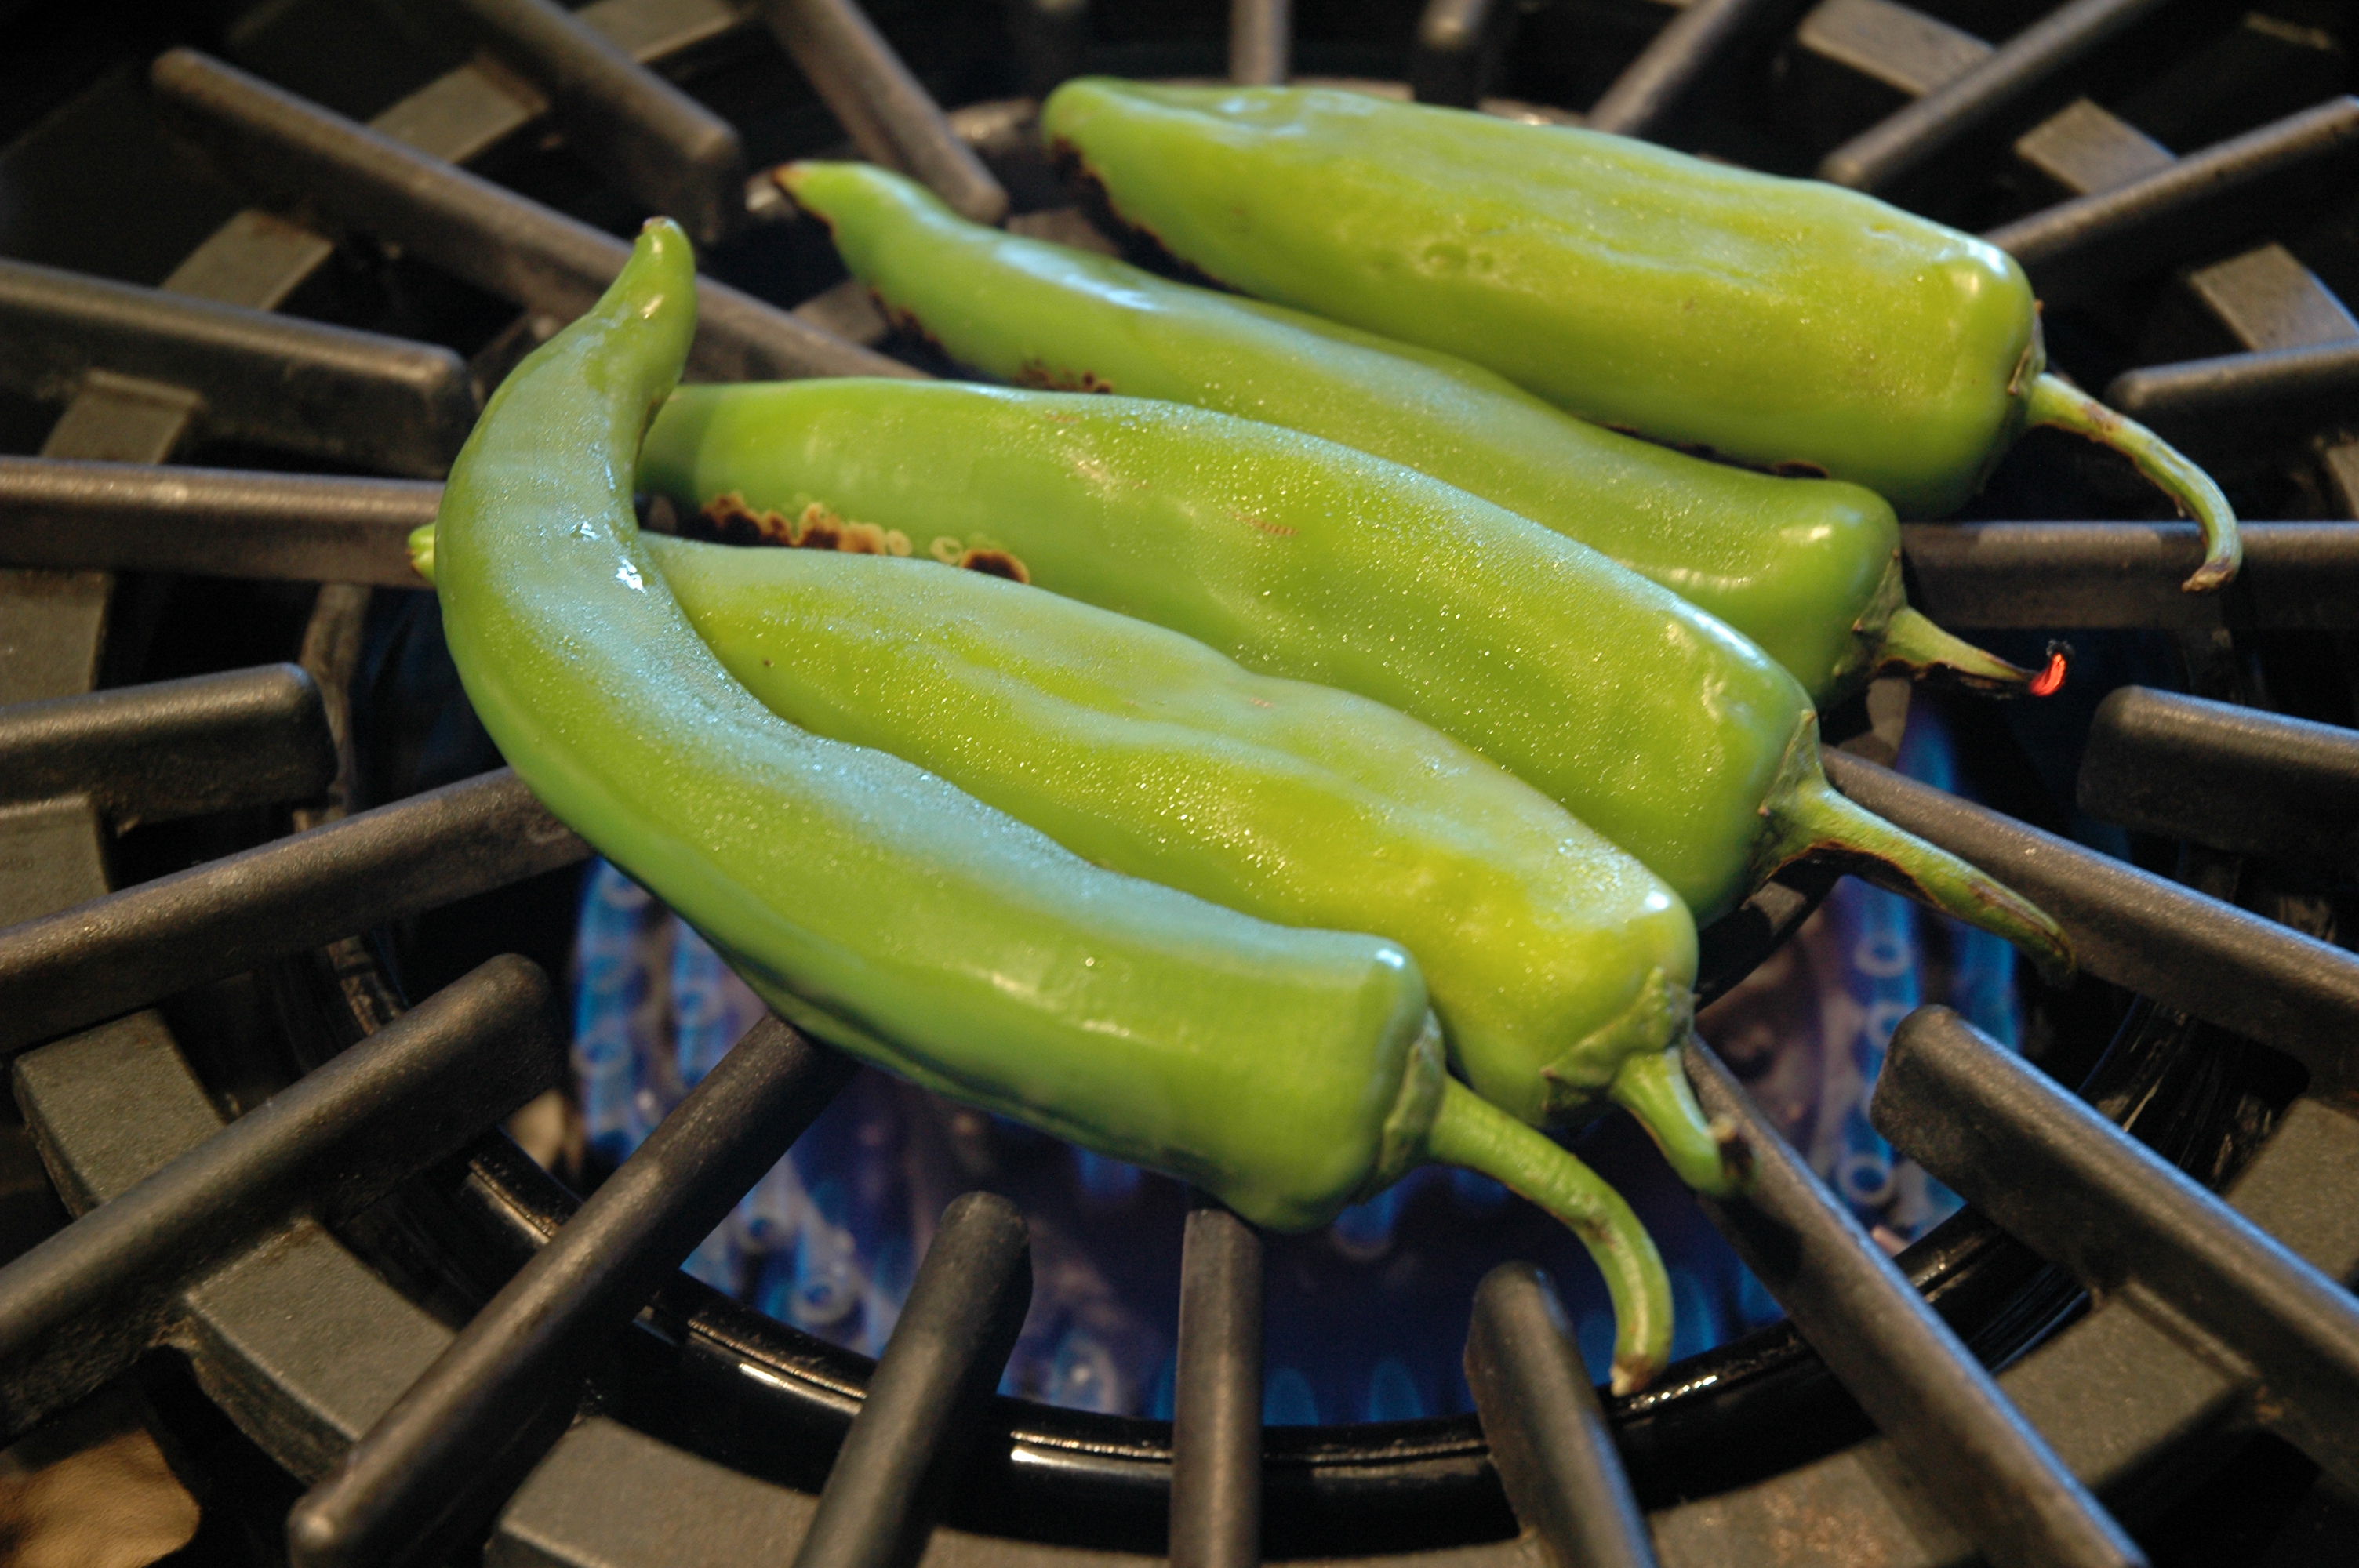
See these beauties above.  These are New Mexico ( specifically Hatch) grown green chile. They are the New Mexico state fruit, vegetable, plant, and bird.  They go into everything here in NM.  They even go into my guac.  I love them.  Unless you live in or near NM you will probably not find these… but if you do they are great in guacamole.  Heres the catch… if you are one of the unlucky who cannot find these babies… DO NOT… let me repeat for emphasis, DO NOT used canned green chile.

You think I’m crazy now right?  I should use canned tomatoes but not green chile?  What the What?  Trust me… the stuff that comes out of those cans of green chiles aren’t green chile.  I’m not sure what it is but it ain’t green chile.  Just skip the green chile and move right into the serranos and jalapeños for the heat.  DSC_0285

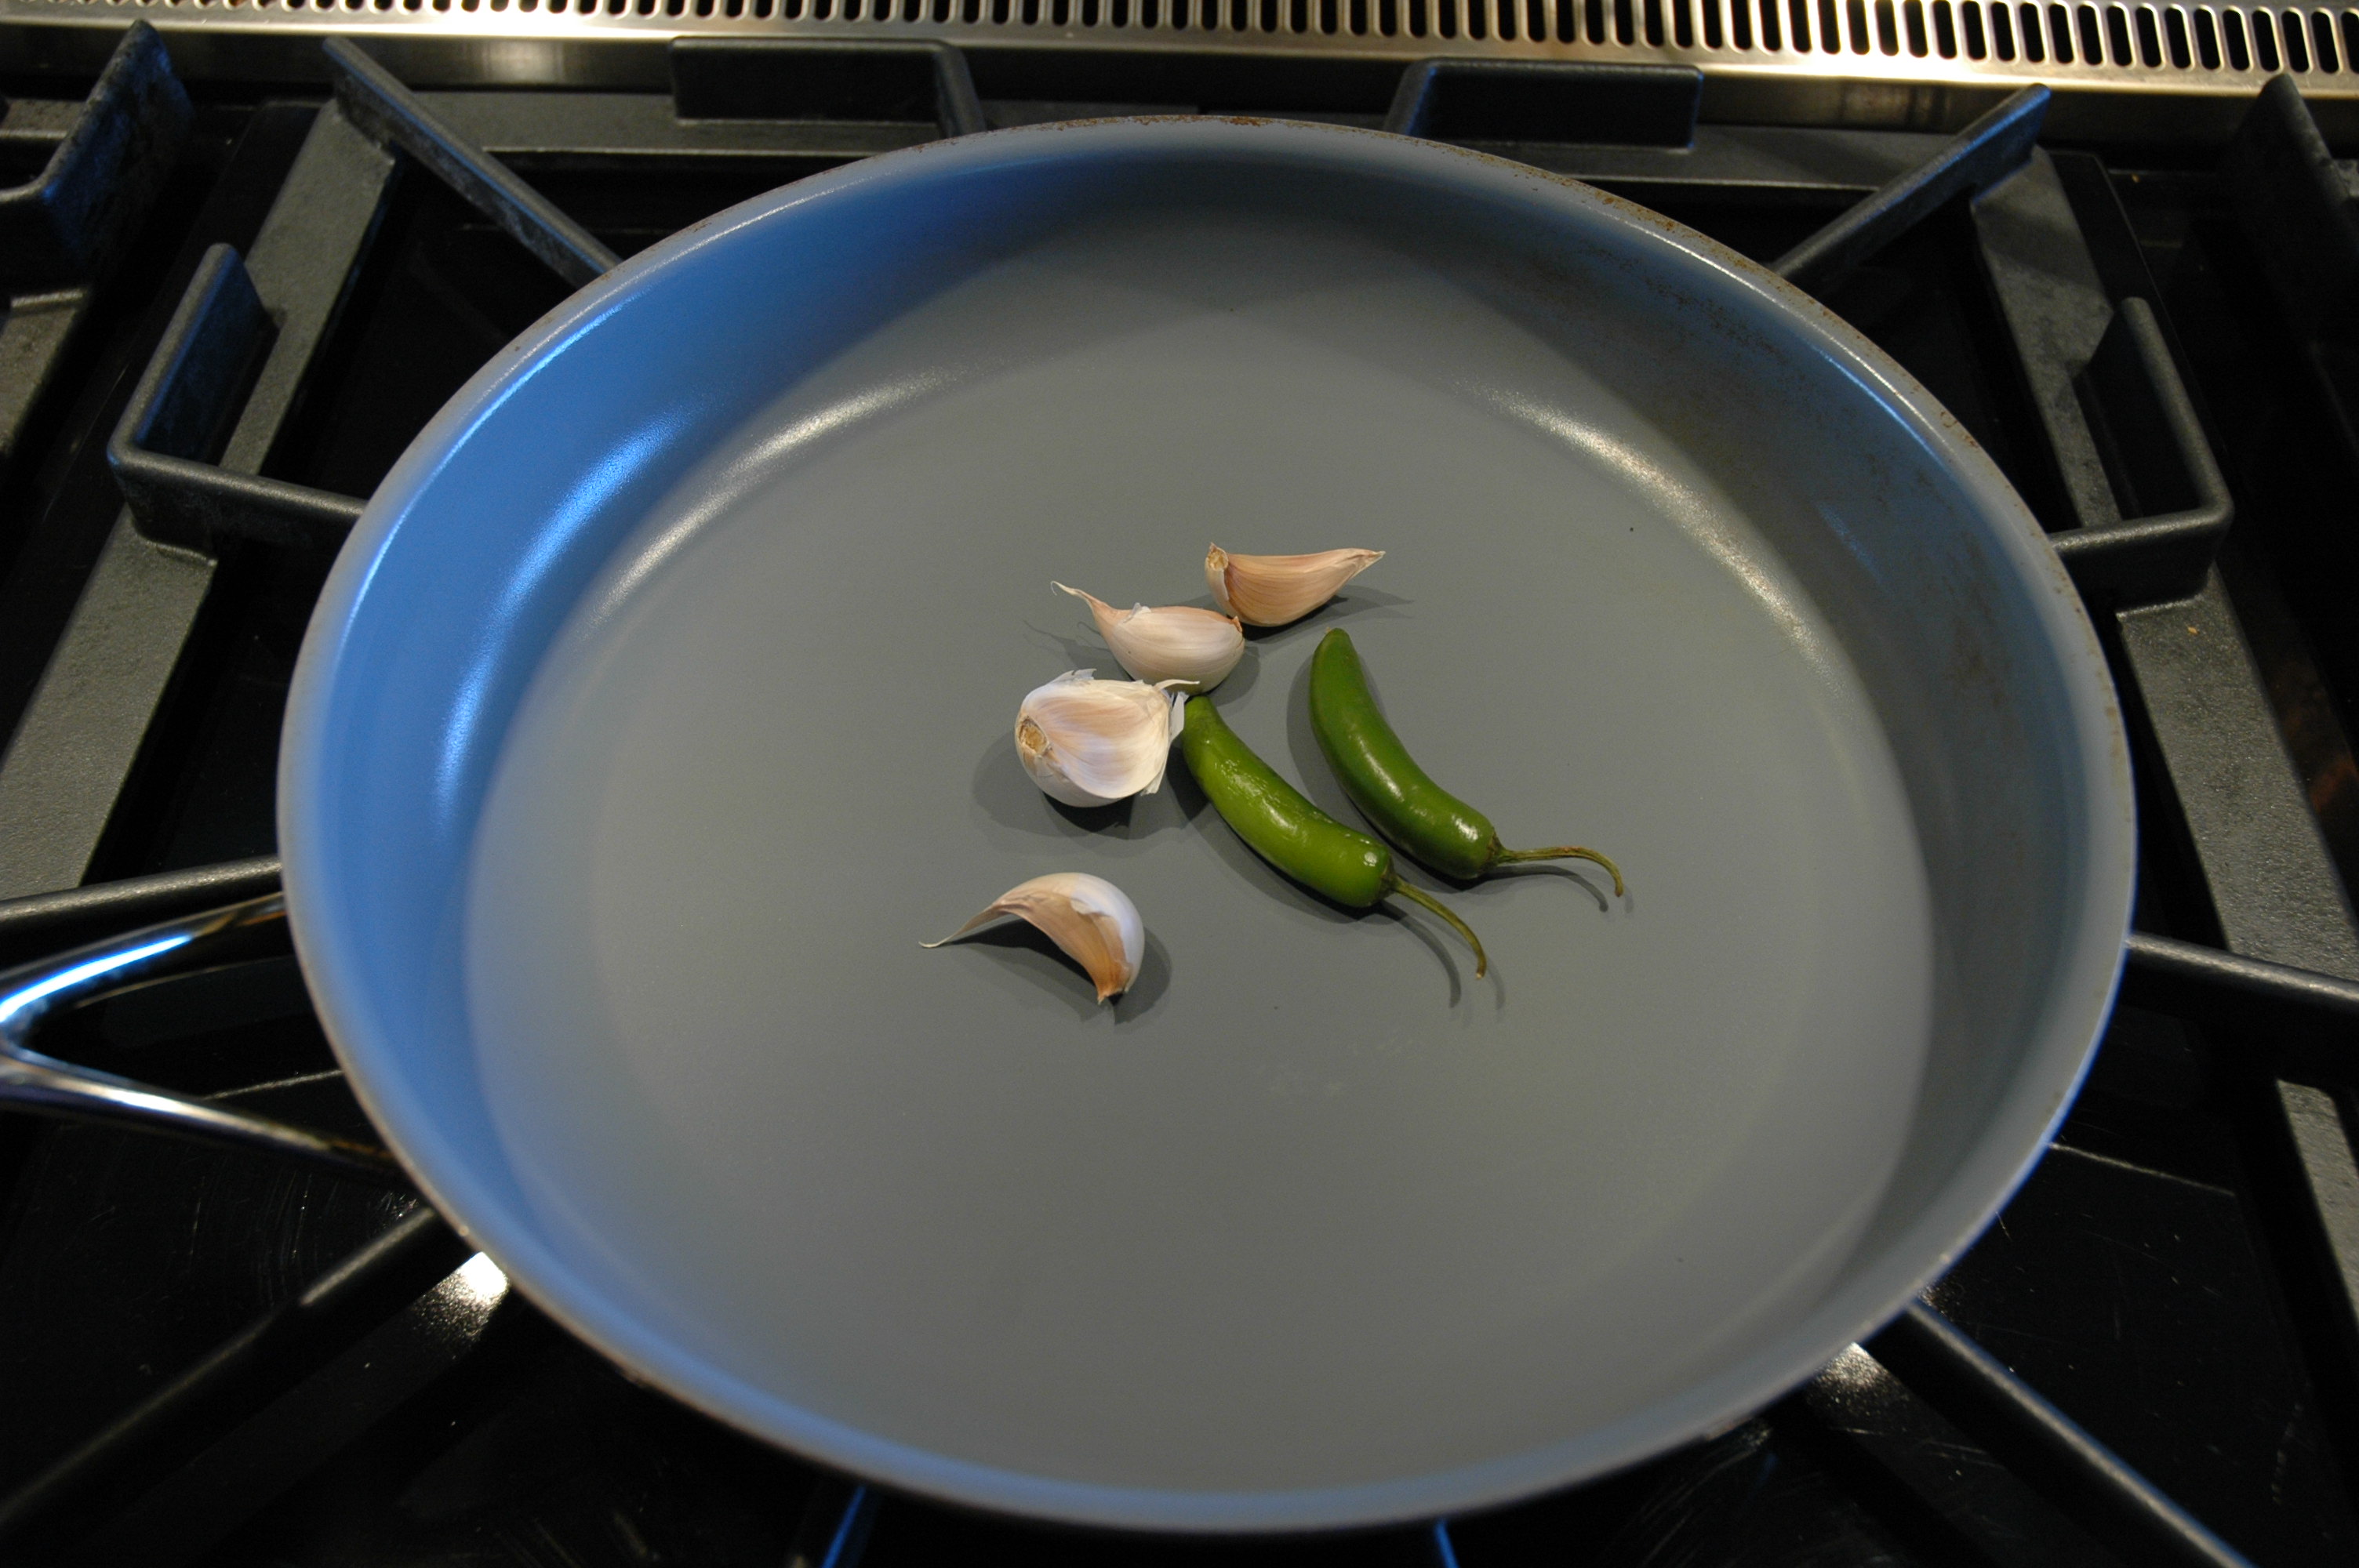
Next dry roast you up a few cloves of garlic and whatever hot chile you are going to use.  In this case I found some good serranos.  DSC_0287

This is called a molcajete.  Its the Mexican version of a mortar and pestle.  The good thing about the molcajete is that its surface is very “coarse”.  Its absolutely perfect for making guacamole.  DSC_0290

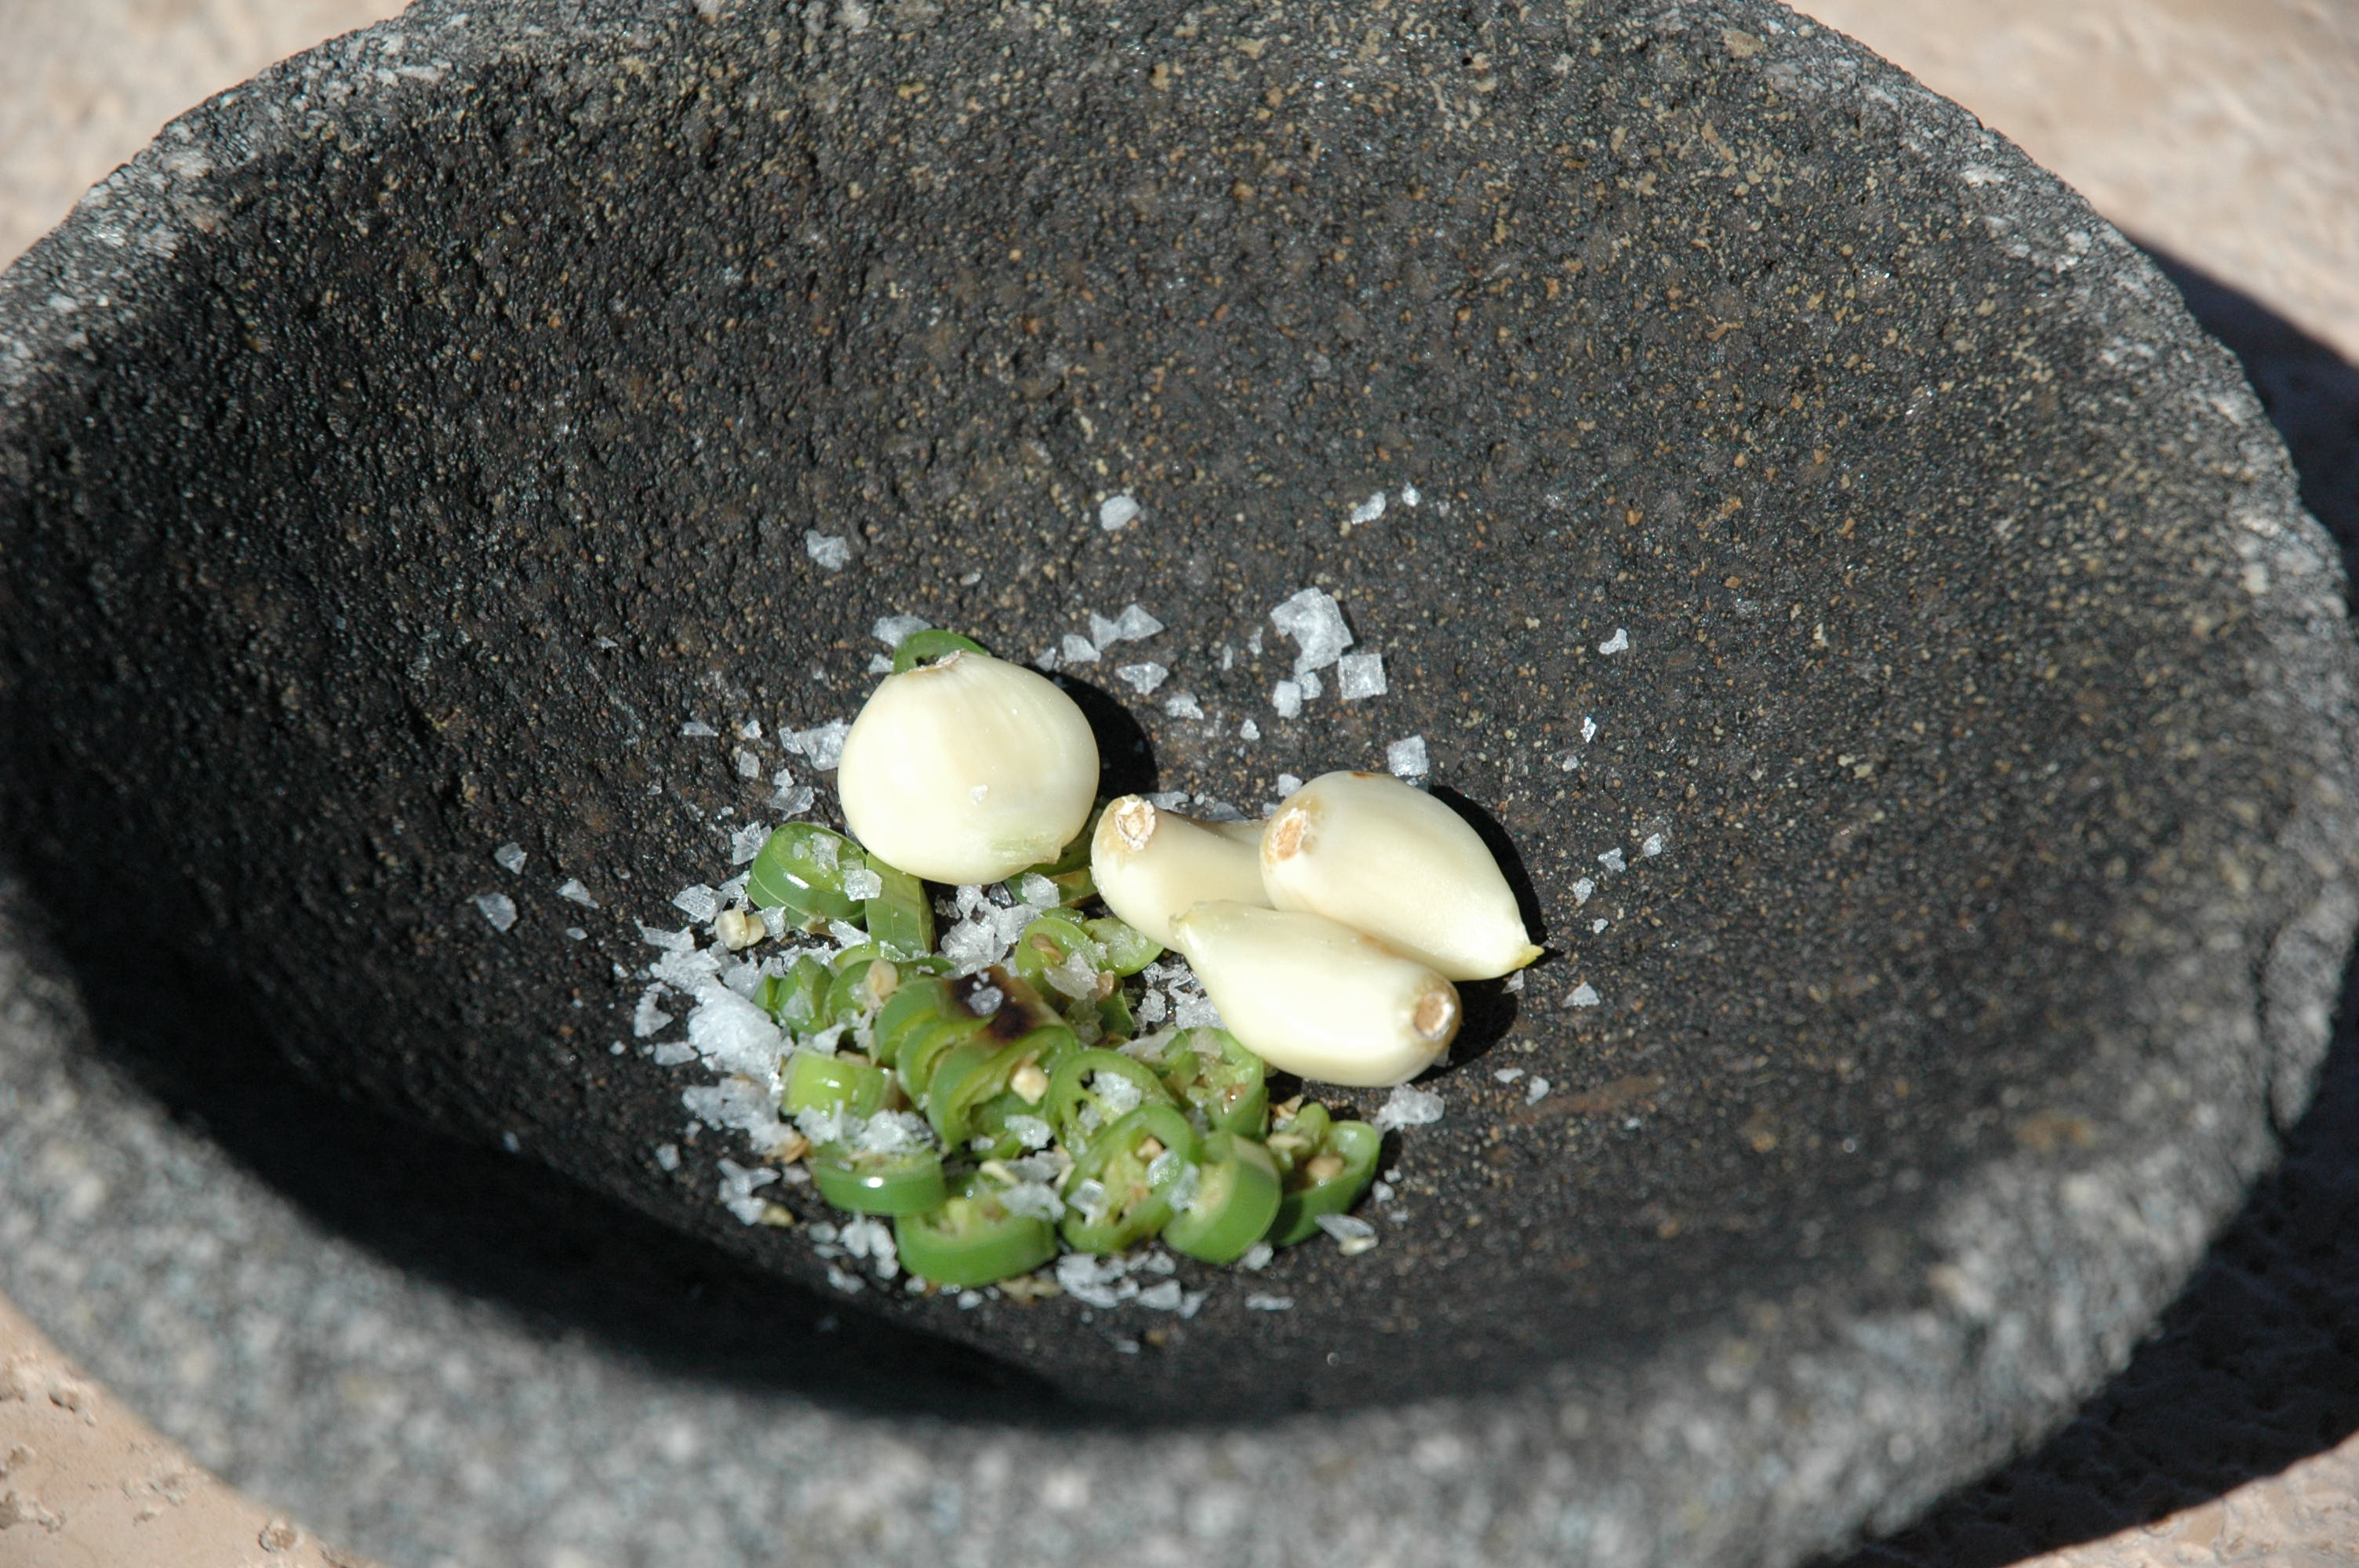
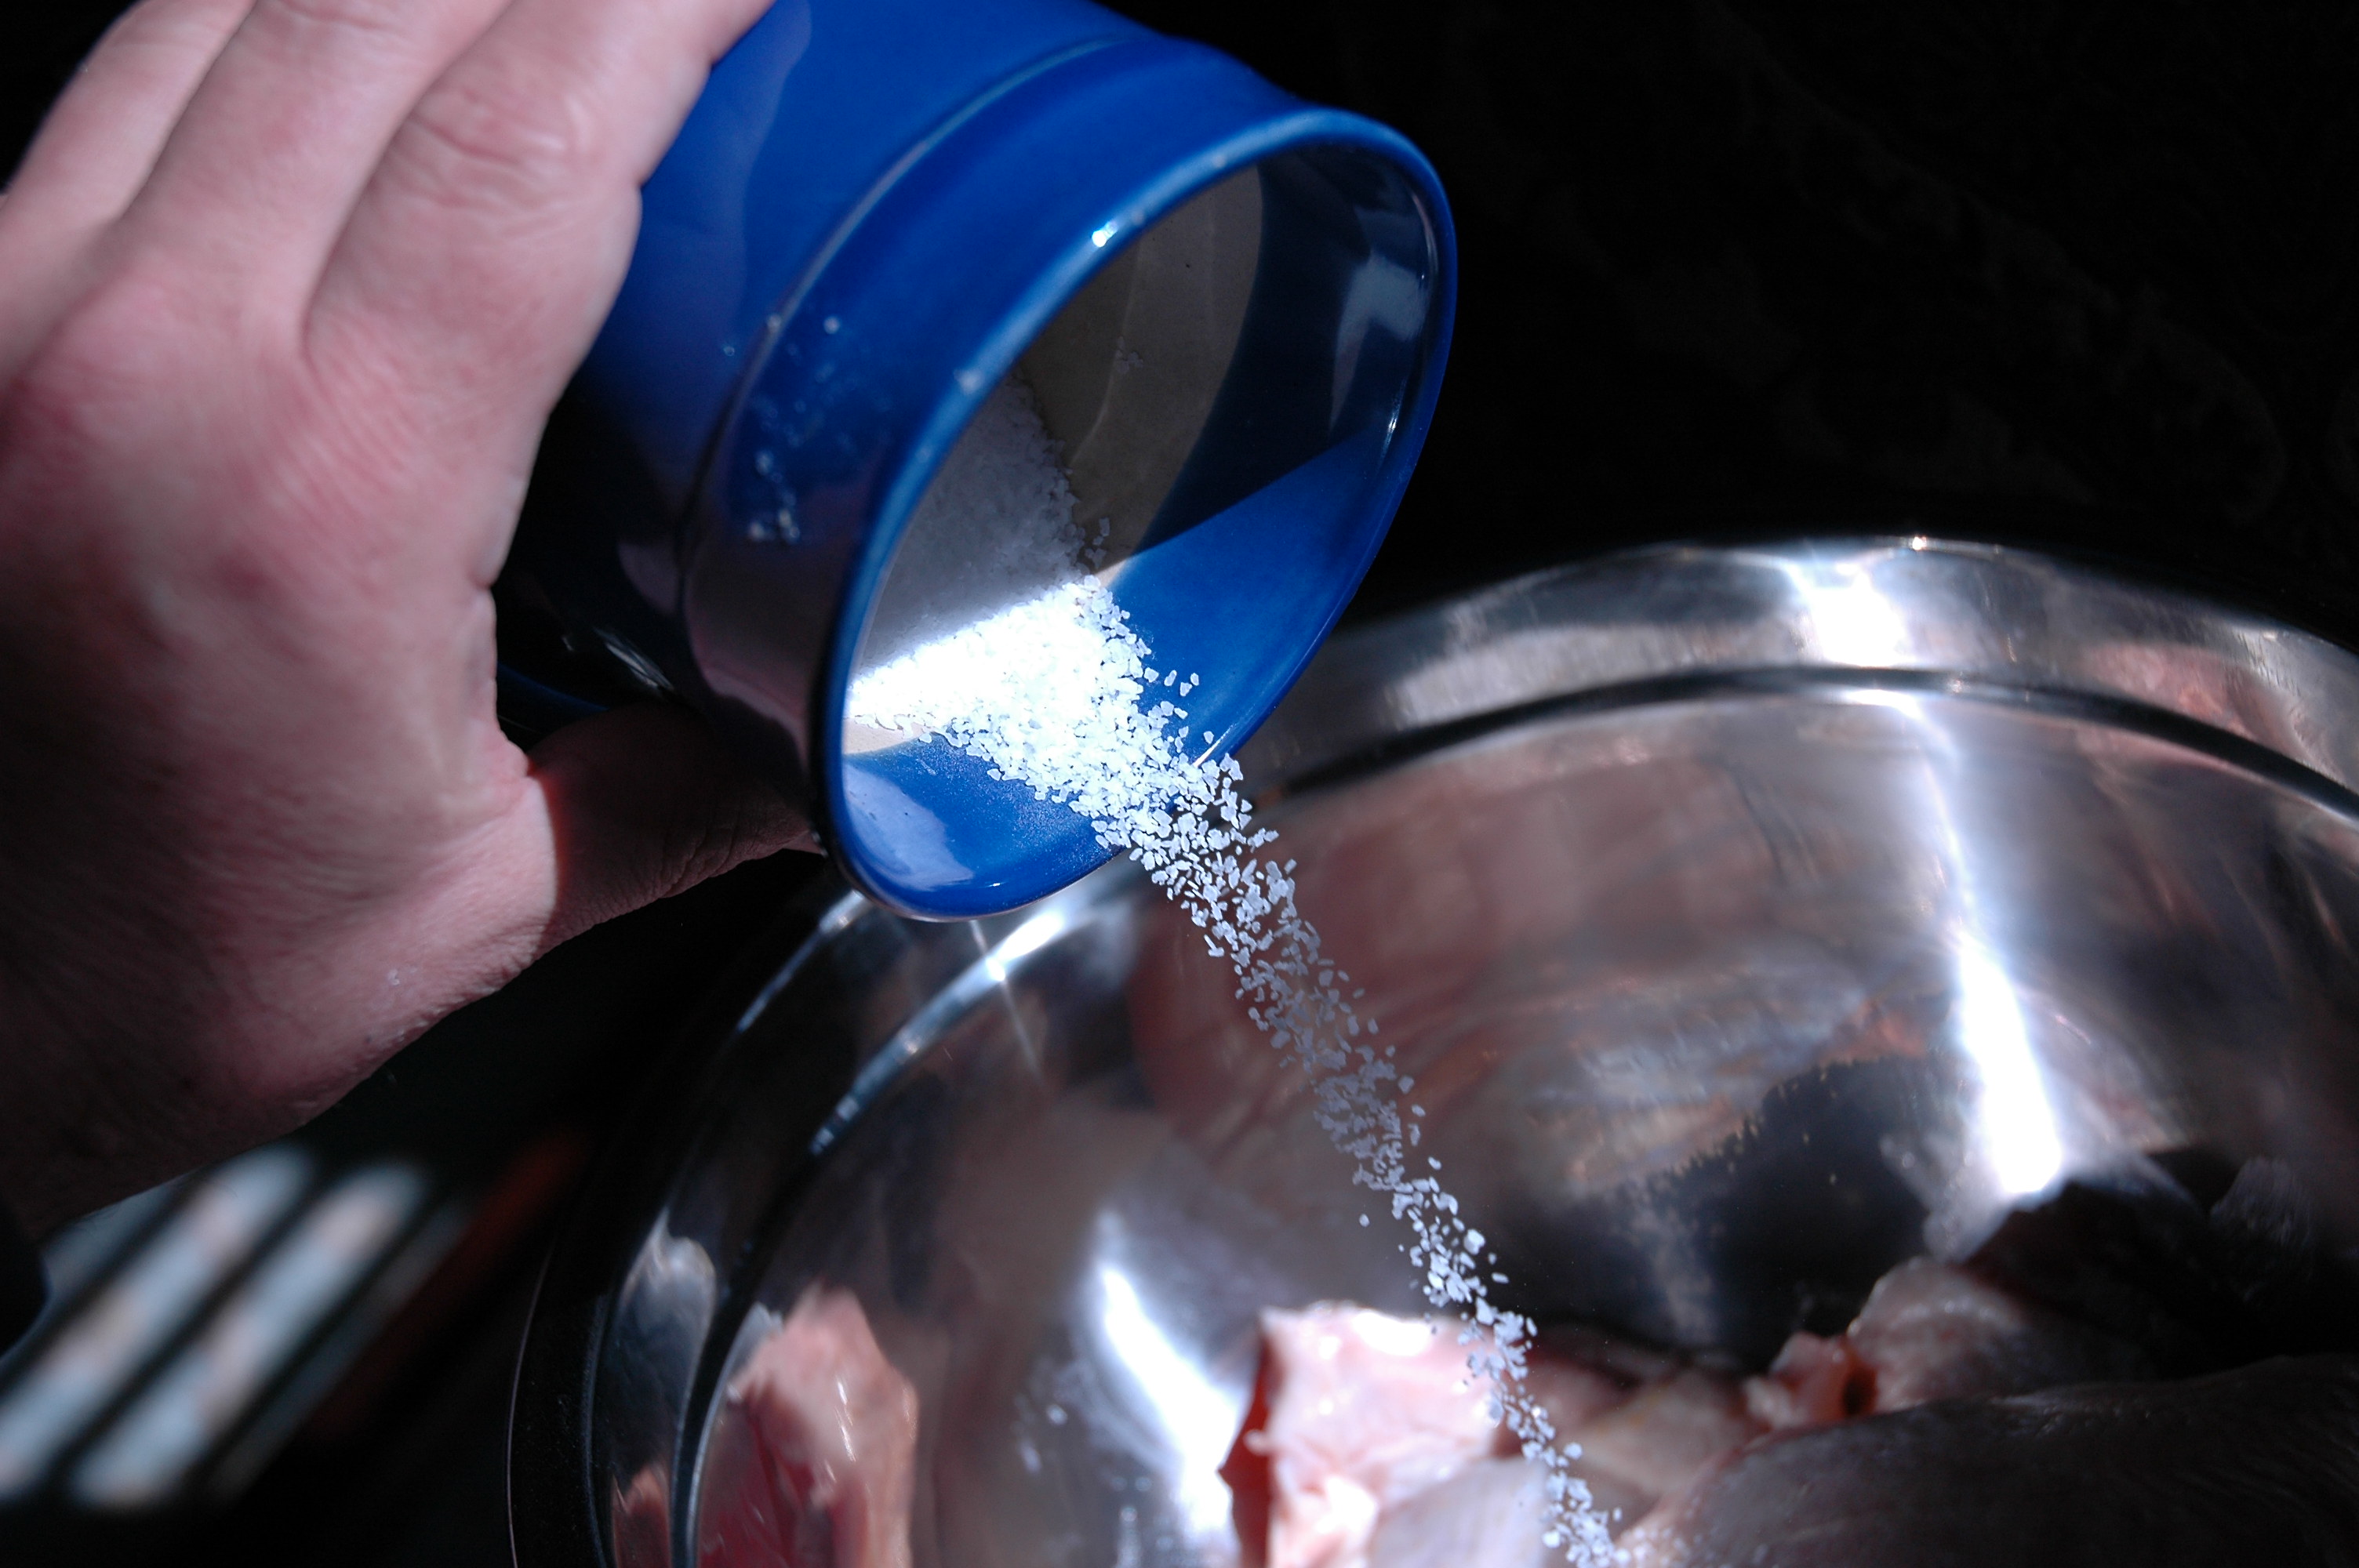
These are the dry roasted garlic and serranos with a little added coarse sea salt.  Grind this into a paste.  Its fun.  DSC_0296

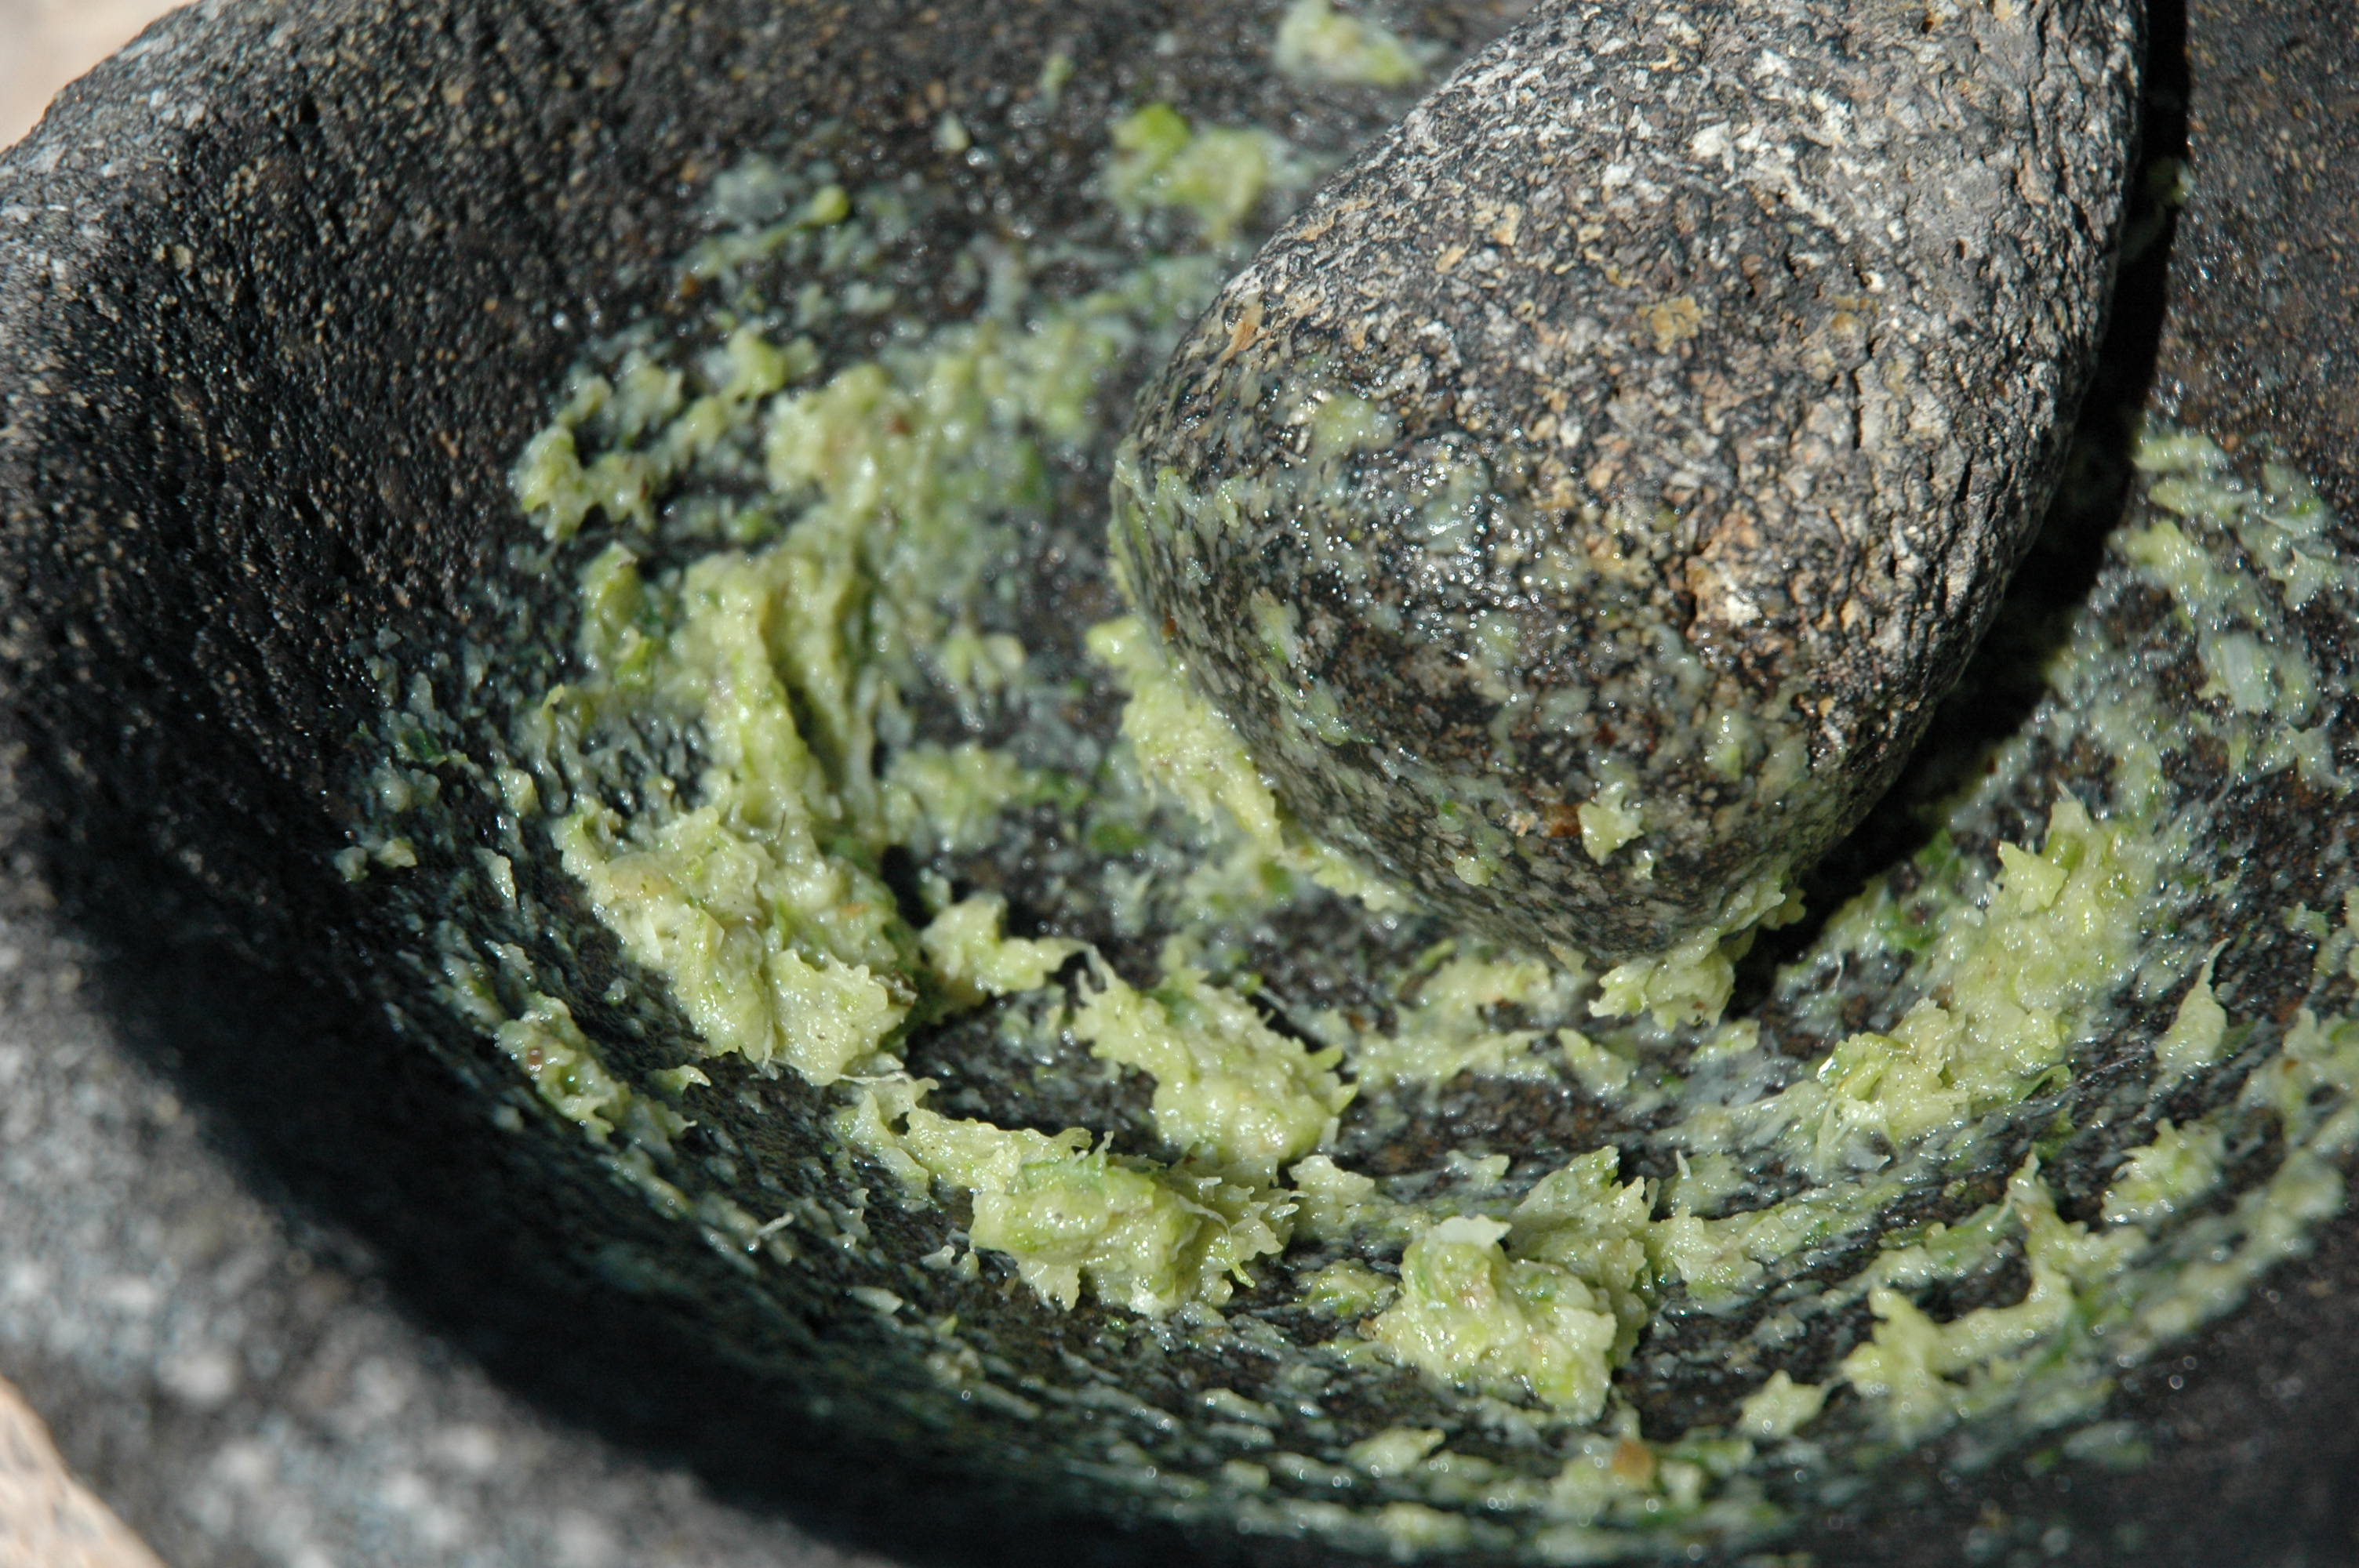
Nobody likes a big bite of garlic or serrano, so this is why I make a paste of it before I add the chunkier ingredients.  DSC_0299

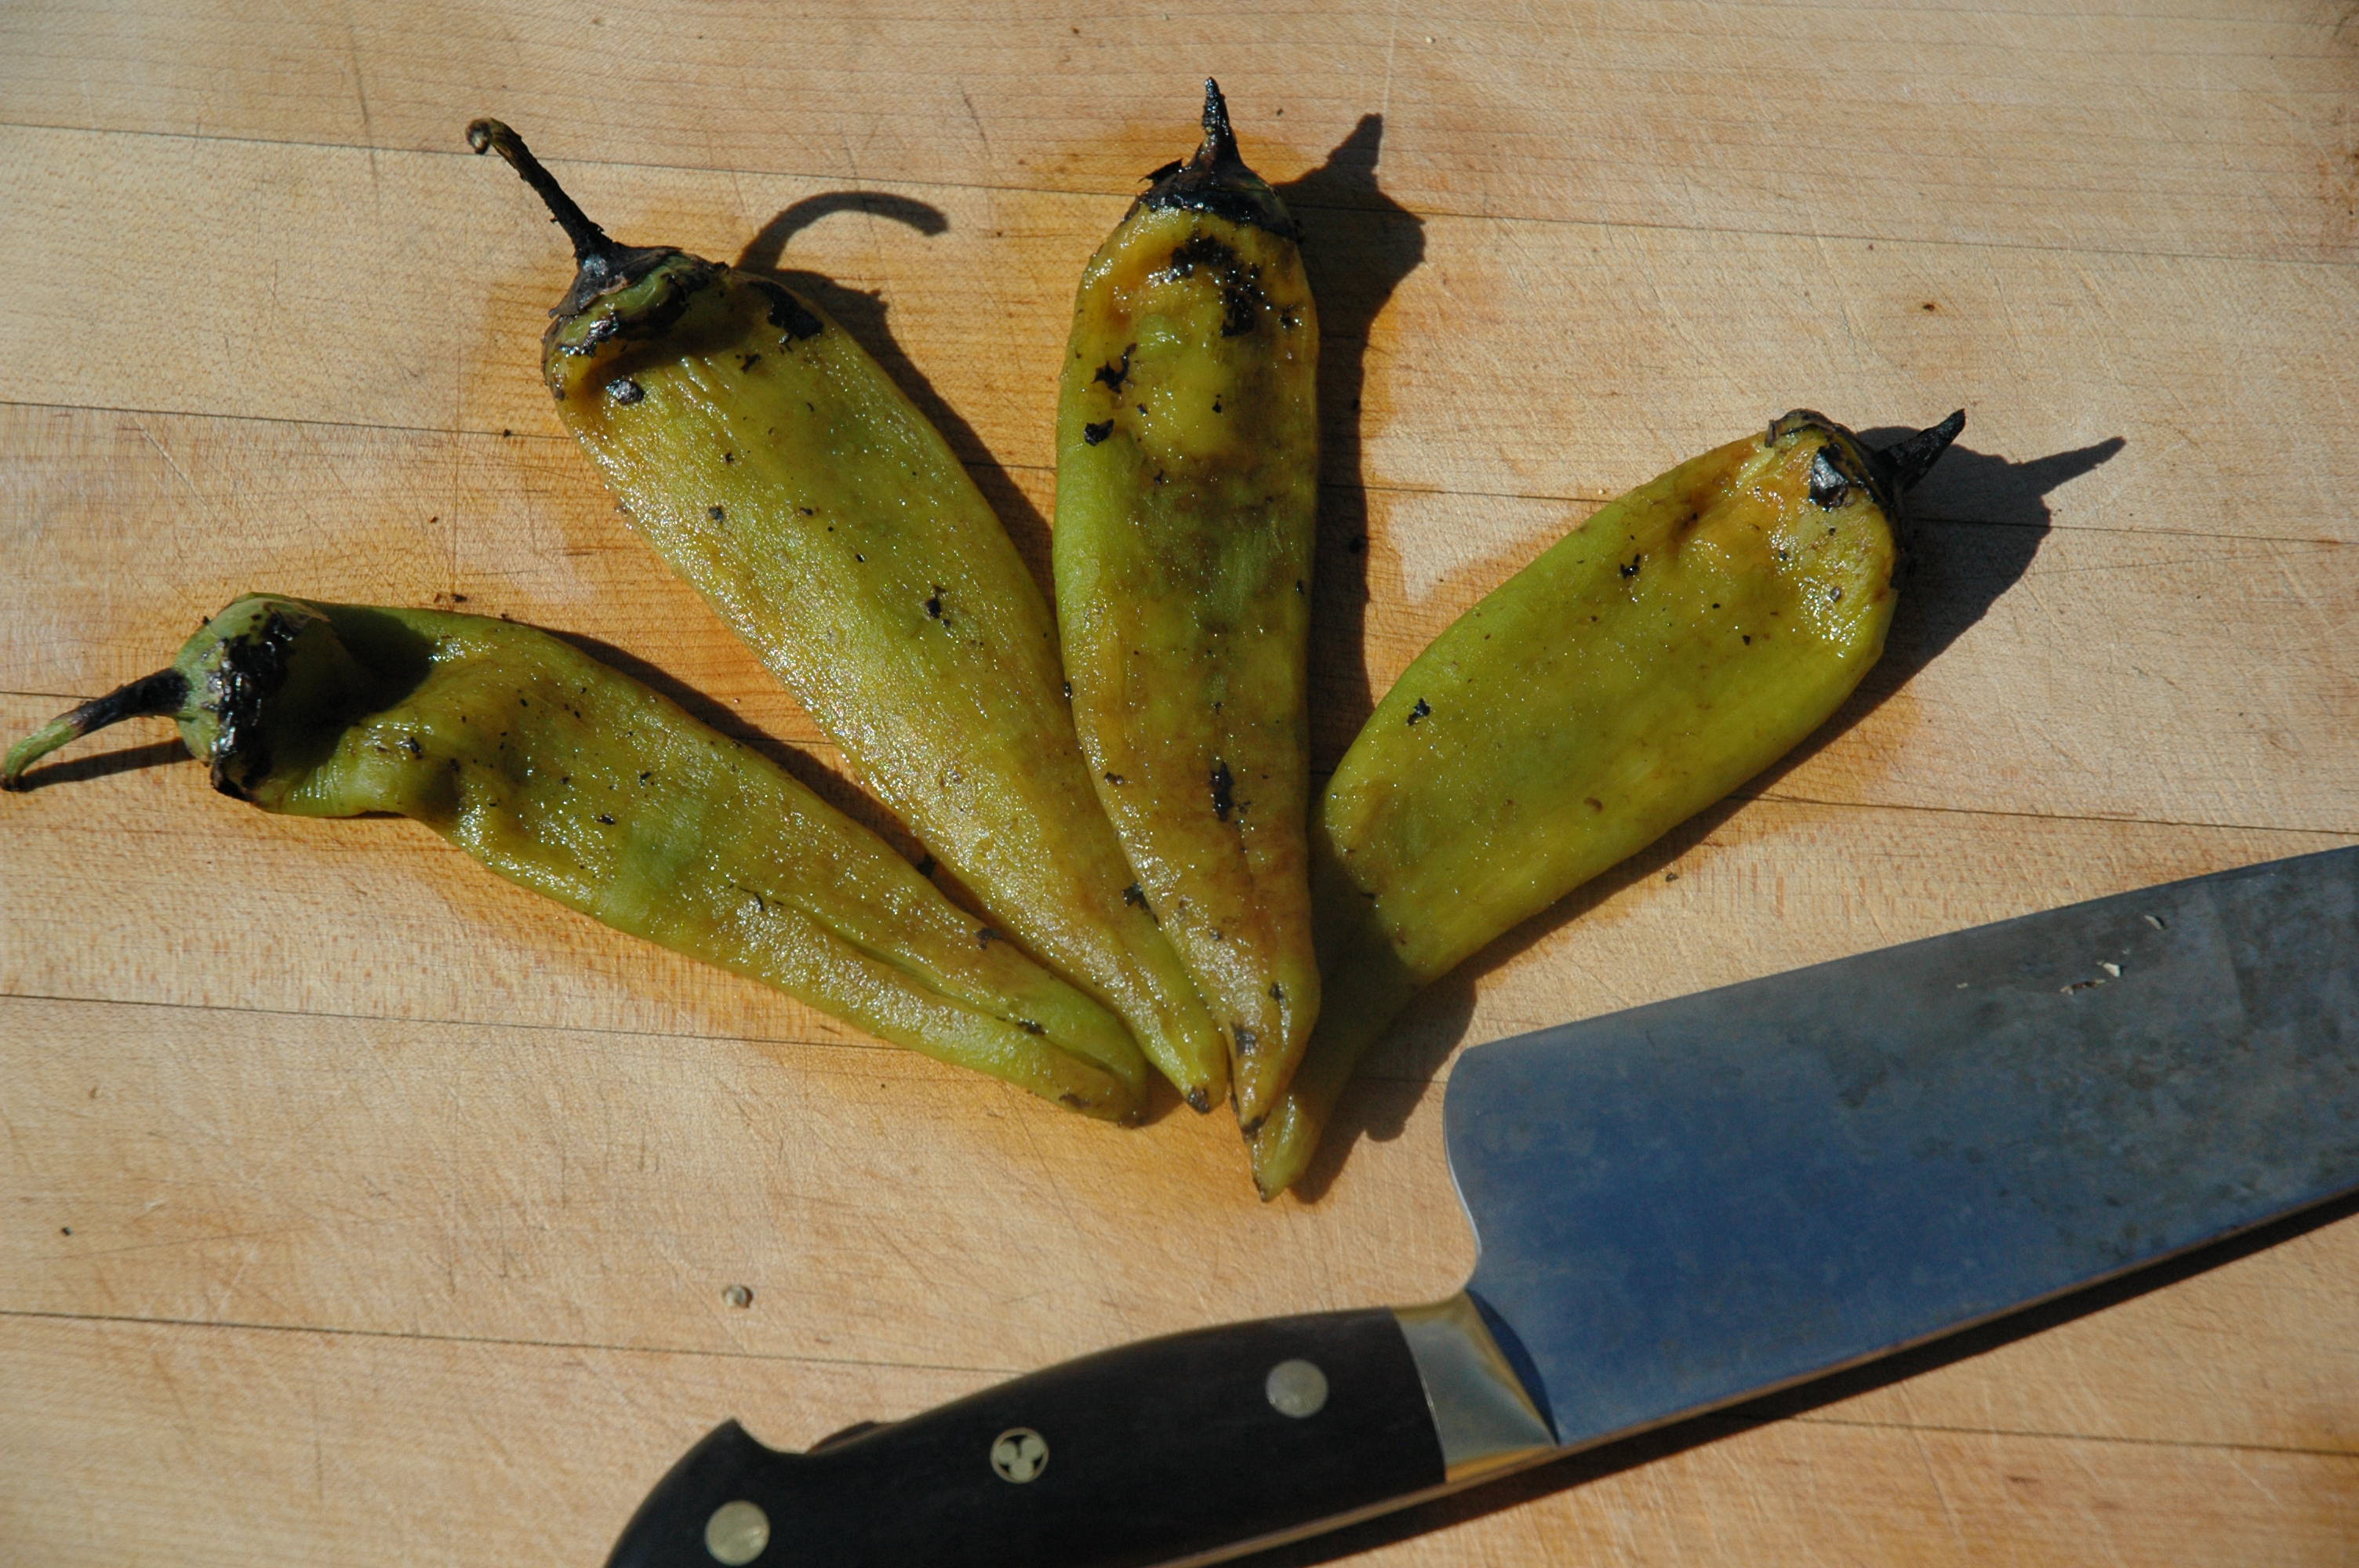
I just had to show you what these Hatch green chiles look like when they are peeled.  Heaven.  DSC_0306

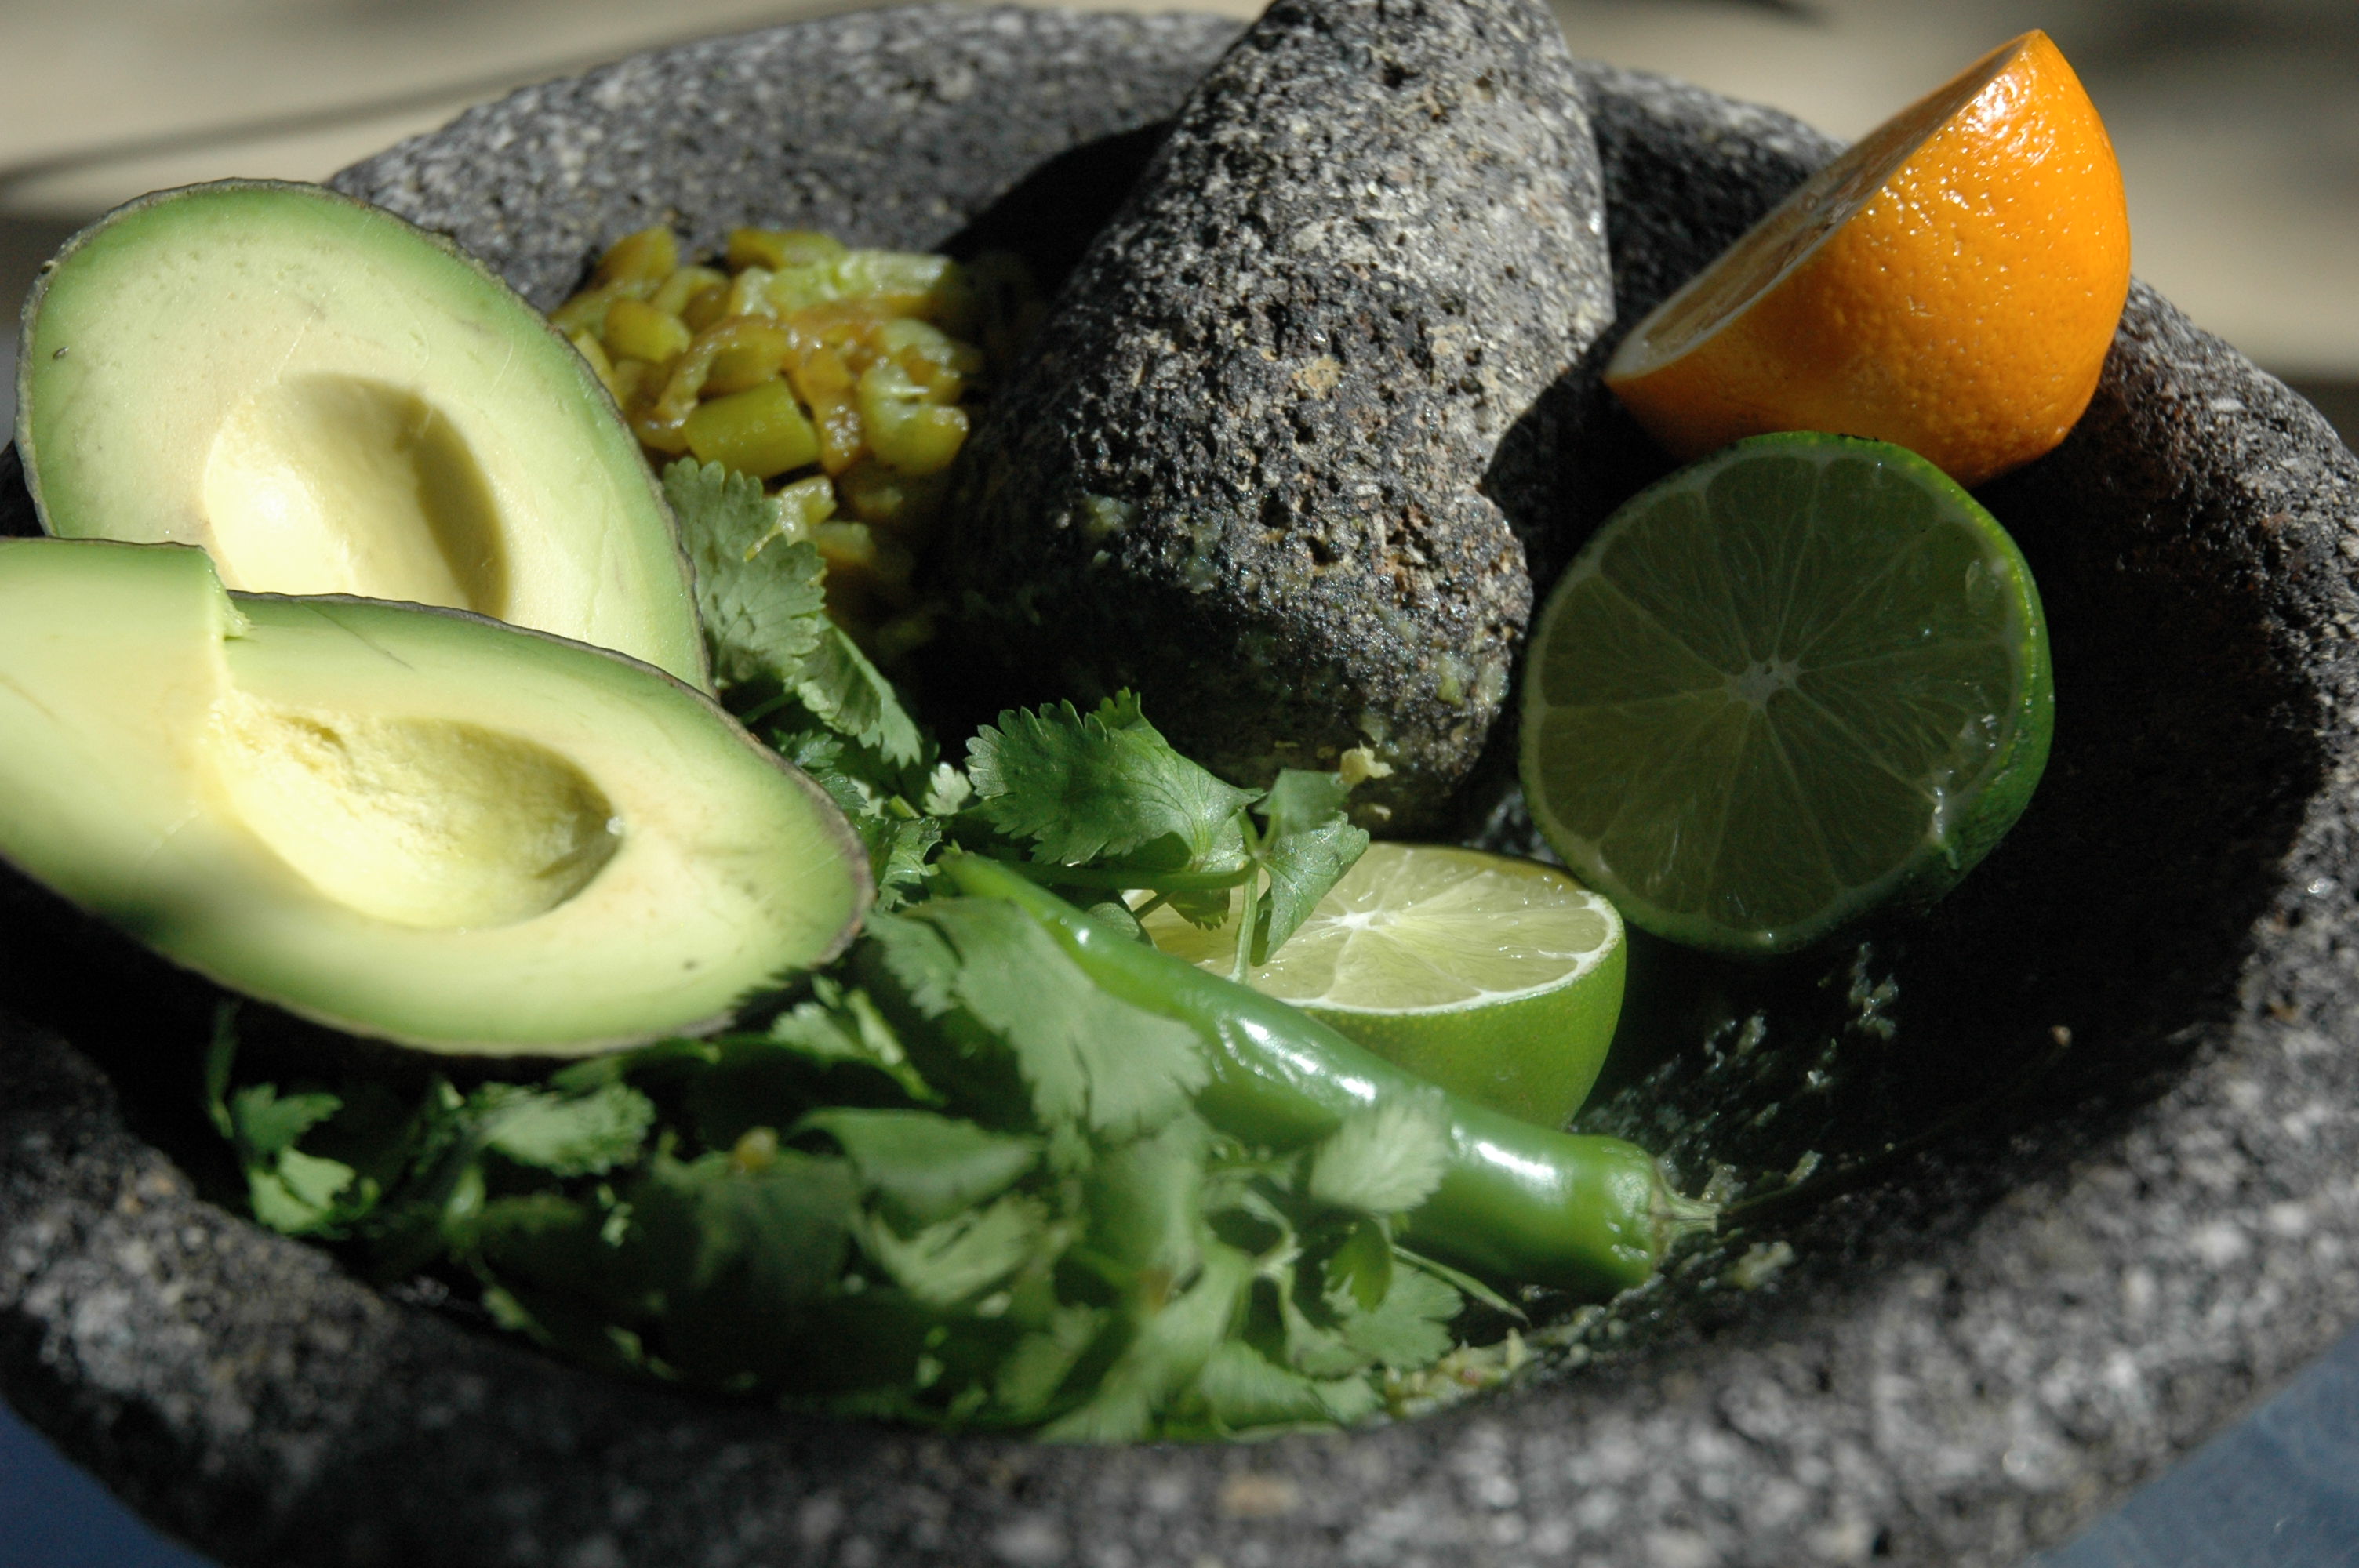
Round up the rest of your guac characters and chop and squeeze and mash until you get to the consistency that you like.  I like mine a little chunky.

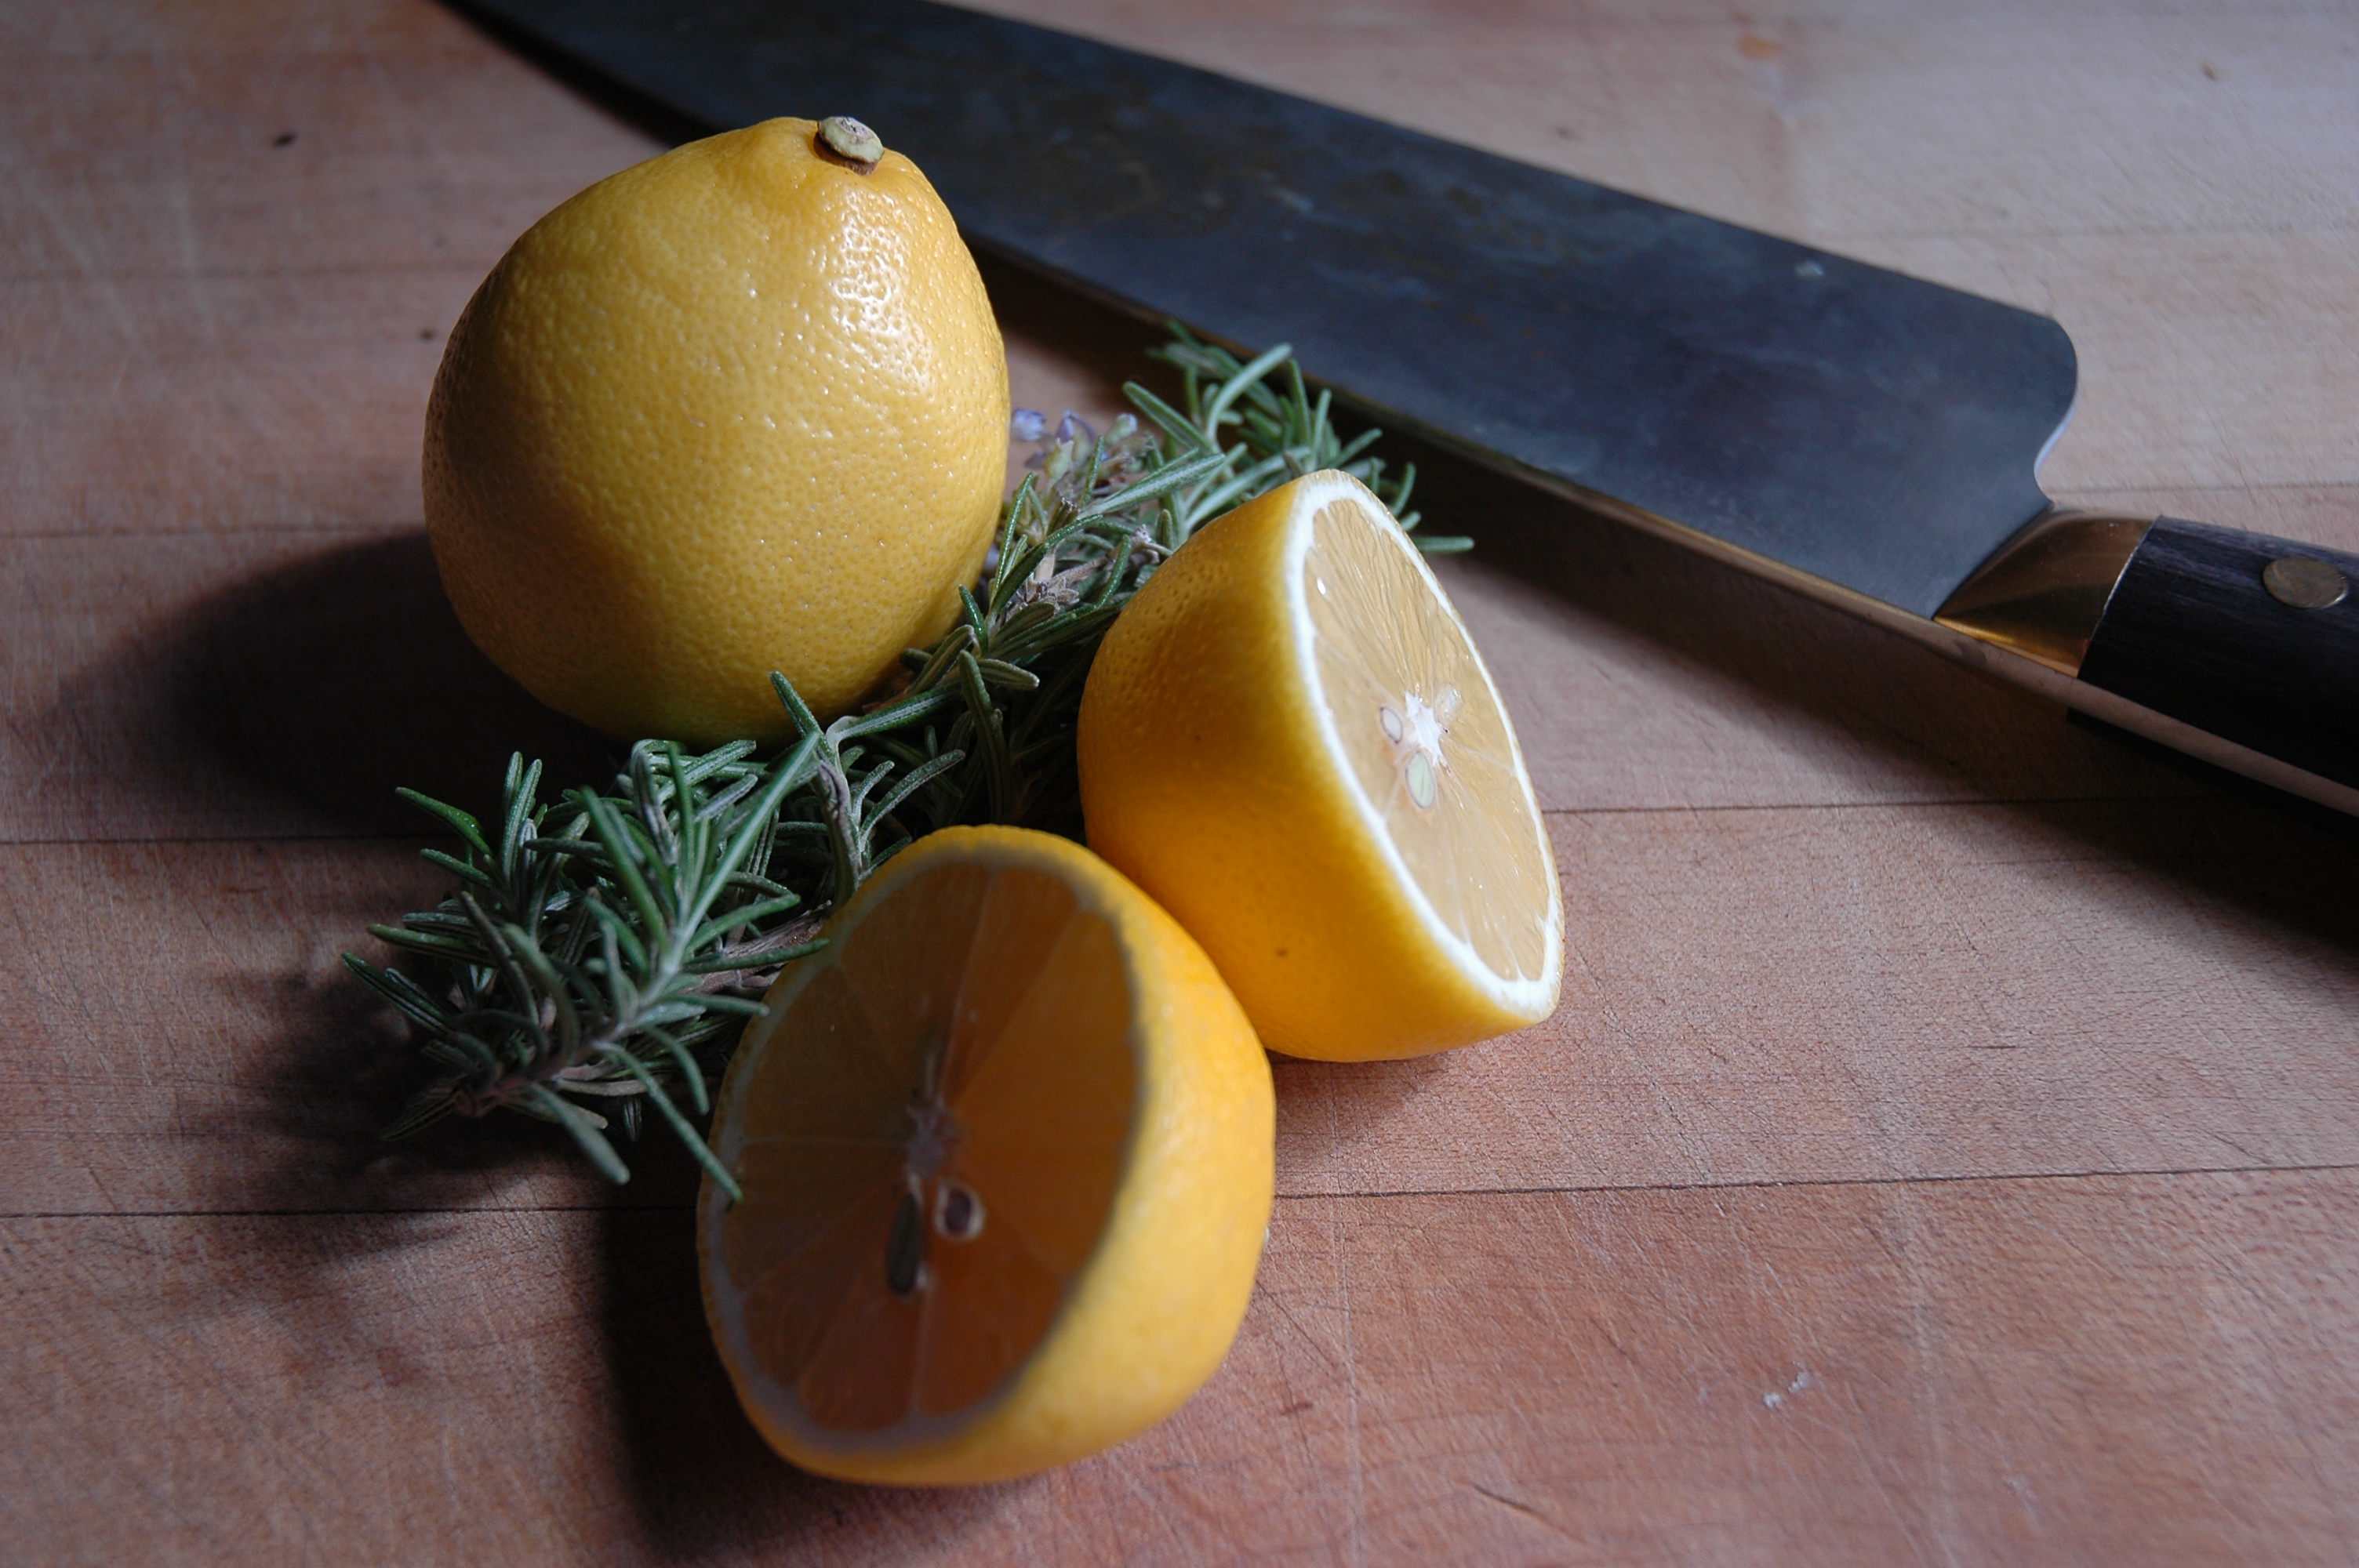
Oh by the way.. that is not an orange you are seeing in this picture.  It is a Meyer lemon off my little Meyer lemon tree ( he only had 6 lemons and I figured I would use the juice of one for the guac).  Its a cross between an orange and a lemon and they are wonderful.  Limes by themselves work great though.  DSC_0311

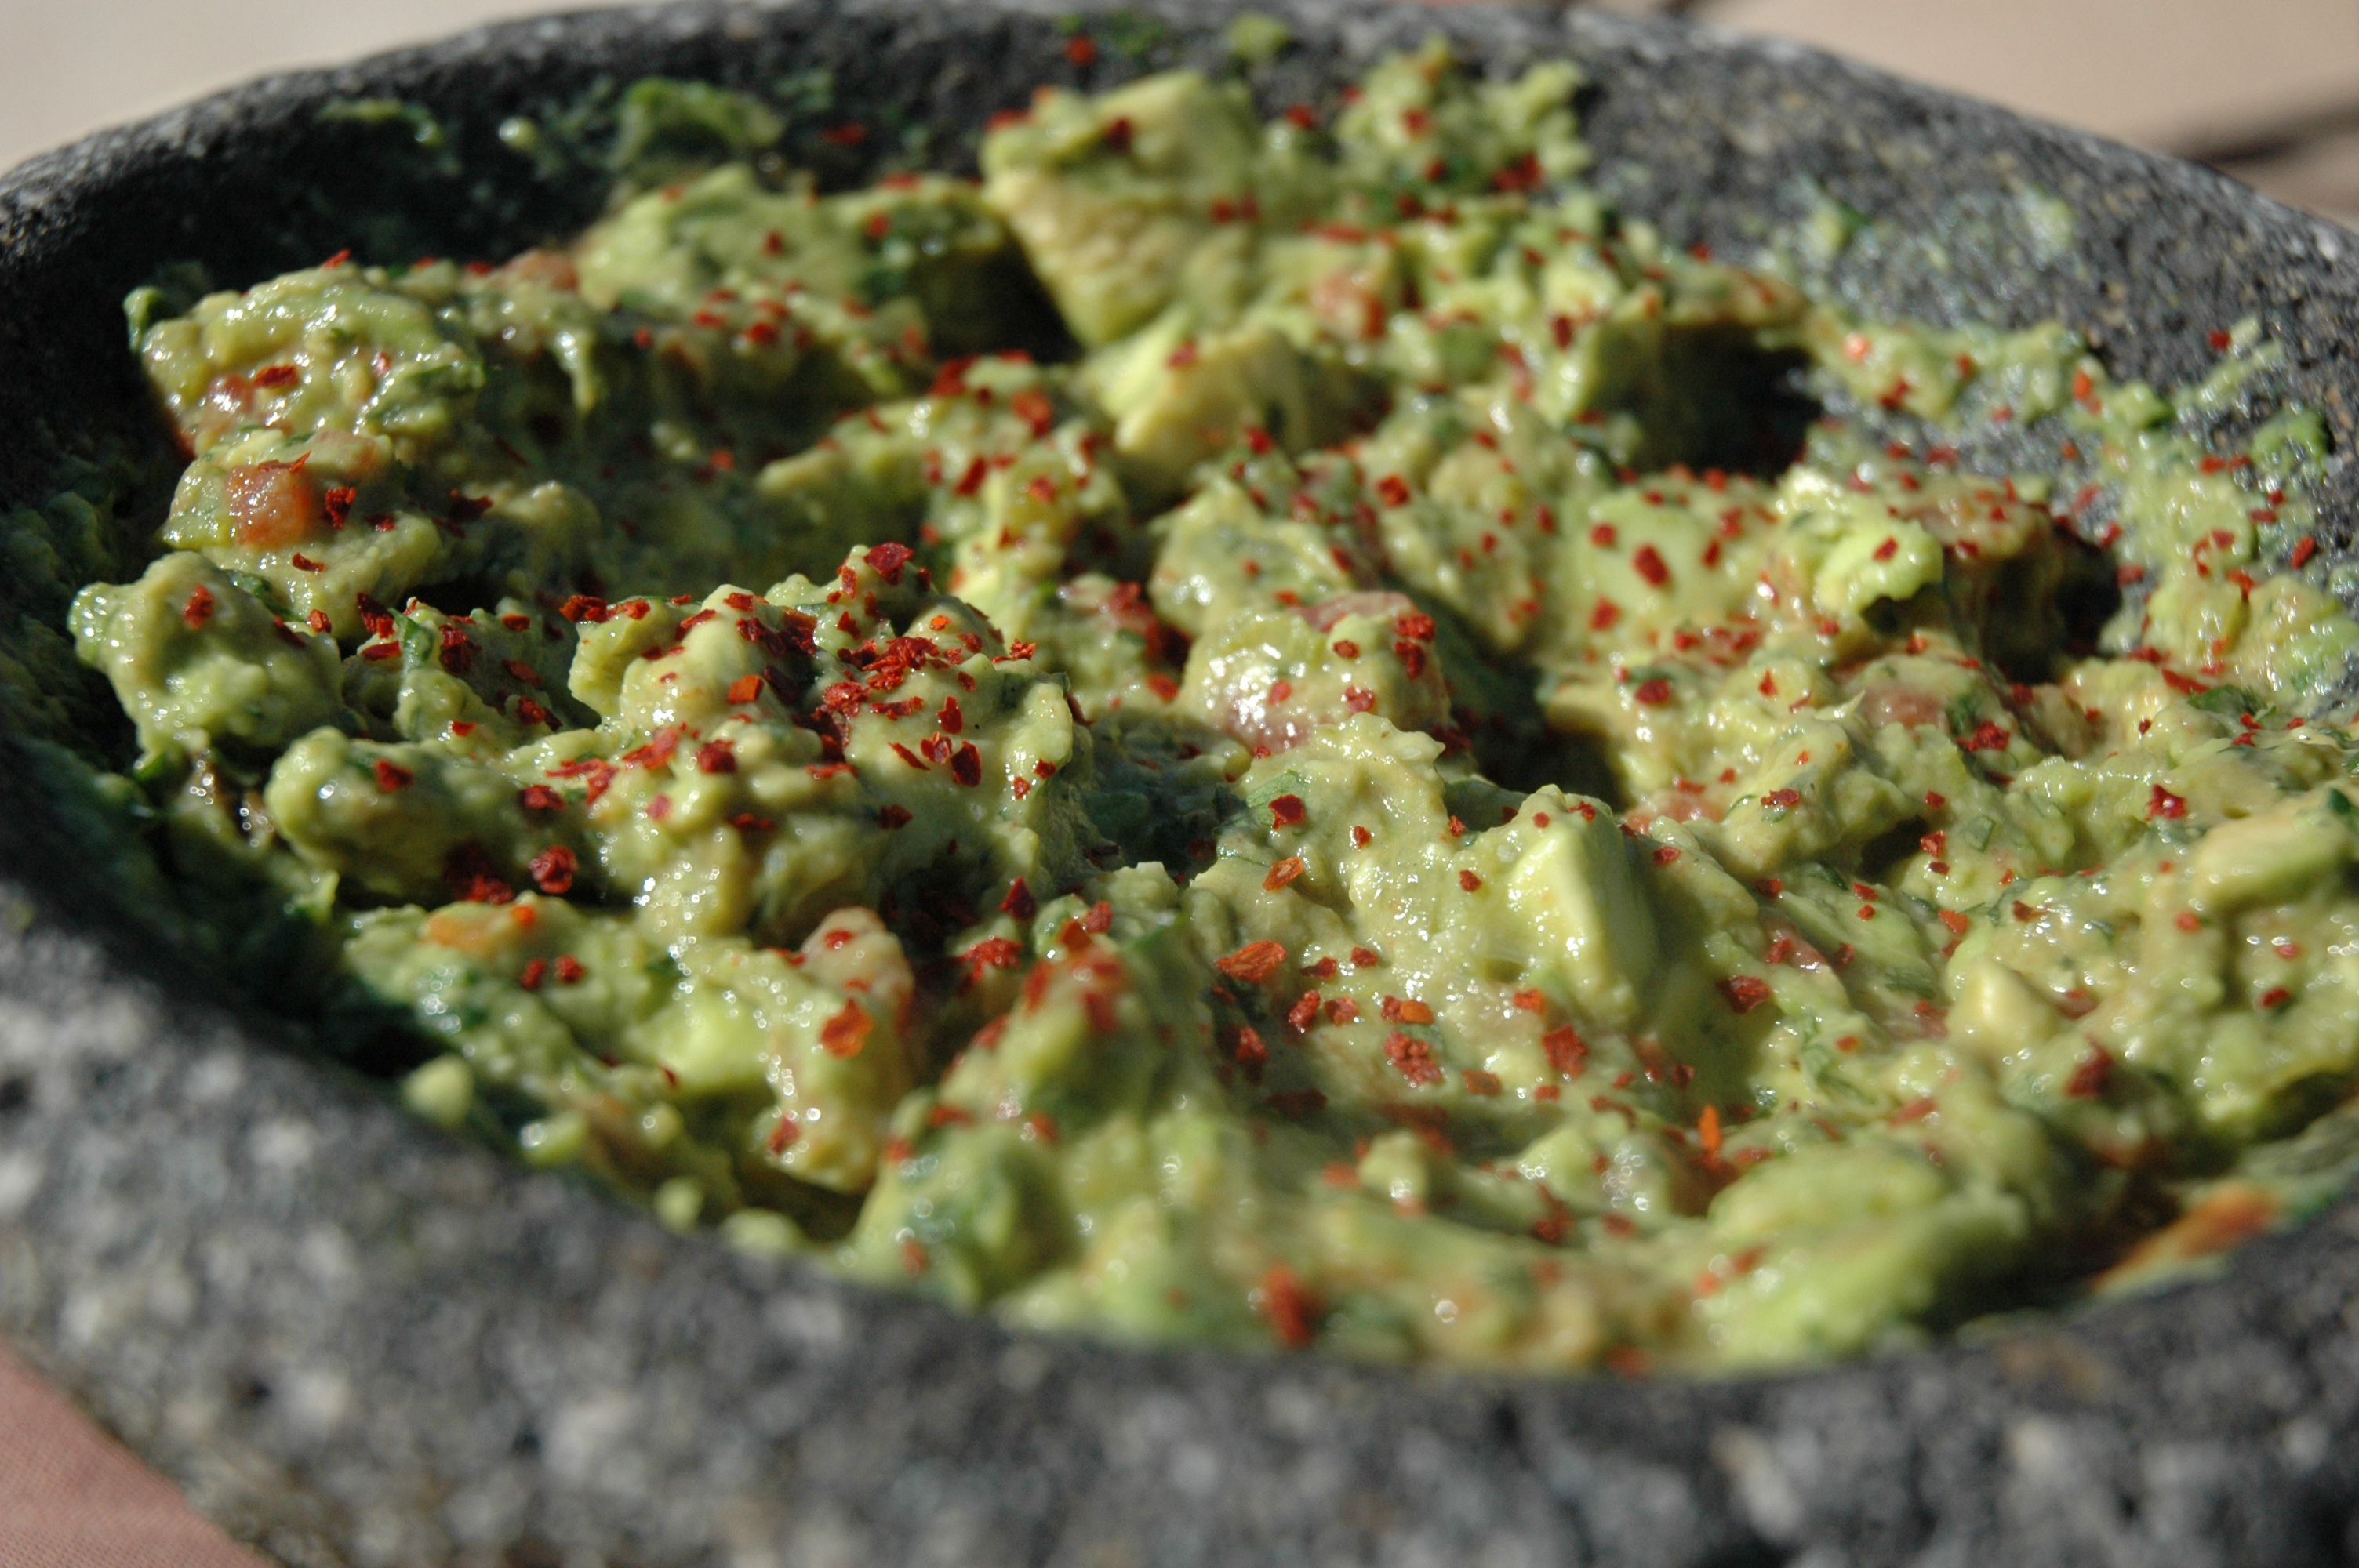
And here it is.  See the chunks?  Just the way I like it.  By the way… I like to sprinkle the top with some crushed red chile for some added color and “umph”.  I’m using Aleppo red chile flakes… Very, very good.

Cheers!

I love me some chicken!


Ok…This is officially my first real blog post.  Pretty exciting stuff I know…So lets begin with one of the simplest meals of all.  Chicken.  I really do love chicken.  You can prepare it so many ways, and if you get it right, it can not be beat in my opinion.

For this particular dish I decided to grill some thighs ( and one breast for the Mrs. as she does not dig dark meat…. What the What?).  Anyway, I always brine my chicken first.  My brines are “briney” because I usually only brine my yard bird for a short period of time… if you have more time to brine cut down on the concentration of salt.  You will with time have the perfect brining solution for your chickens every time.

The next most important thing to remember is to dry your skin thoroughly after your brine.  You do want crispy skin don’t you?  Well?  Of course you do… otherwise you would just go eat a burger or something.  Look, to get crispy skin you have to have dry skin when it hits the pan/grill otherwise it will just steam and get soft and gooey… not good my friends.  If you have time ( I never do), put the chicken ( post-brine) on a rack set in a baking sheet, skin side up, in the fridge for a few hours.  If not just use a paper towel.

I usually like to grill my chicken at a pretty high temp ( close to 400 degrees).  At those temperatures you need to keep the chicken moving.  You hear all these TV chefs say they turn their meat once and thats it… POPPYCOCK.  Get your grill marks on the skin like you want them, then flip and keep rotating the pieces around the grill alternating between hot and cooler spots on the grill.  If you can turn the larger pieces one their side, by all means do it.  You want to “push” the heat towards the center of the chicken on all sides.

 And finally, you’ve heard this a million times but its my blog so I will say it again… let the chicken rest after you grill it.DSC_0289

DSC_0278

Lots of salt for the brine

Nothing goes better... and I mean nothing... with chicken than rosemary and lemon.  Match made in heaven.  I reinforce these flavors throughout the cooking process

Nothing goes better… and I mean nothing… with chicken than rosemary and lemon. Match made in heaven. I reinforce these flavors throughout the cooking process

DSC_0263

Asparagus spears are at their freshest right now… couldn’t resist

DSC_0271

Usual suspects for my vinaigrettes

DSC_0287

DSC_0326

You could strike a match on that skin

DSC_0372

For the Brine:

  • 1/2 cup kosher salt
  • 1/2 gallon of water
  • 3 to 4 lemonsCouple of sprigs of Rosemary ( Thyme also works great here as well)
  • One Bay leaf
  • 2 Tbsp of Agave nectar or sugar

For the Chicken:

  • 3 to 4 pounds of Chicken pieces
  • Salt and pepper to taste

For the Asparagus:

  • 1 pound asparagus woody ends trimmed
  • Juice of 1/2 lemon
  • 2 Tbsp Extra Virgin Olive Oil
  • Salt and Pepper to taste


To make the brine, combine all ingredients in a large enough bowl to hold all the chicken and the brine.  Make sure you dissolve all the salt then add the chicken.  For this concentration of brine I like to do a 2 to 4 hour soak in the brine… no longer as you can over-salt the chicken.  I also don’t like to add a lot of sugar to my brines but feel free to dial that up as you see fit.

Remove chicken from brine and place on a rack set over a half baking sheet, skin side up.  Dry the skin thoroughly with either paper towels or let sit in the refrigerator for 4 to 6 hours.

Set up a grill on high ( approximately 400 degrees).  I like to use charcoal but if you must use gas then by all means let her rip. I like to have a hot side and a cool side so that you can move the chicken around on the grill to avoid over-charring. Rub some olive oil on the skin of the chicken immediately before you plan to grill.  Grill skin side down for the first for 5 to 7 minutes.  Do not lift the chicken pieces off the grate until they come off easy ( if you do this too early you will rip off the skin and there will be tears). Flip the pieces  and grill for an additional 12 to 15 minutes ( moving frequently) until you reach a temp of 150 degrees for the breast and about 170 degrees for the thigh.

Toss the asparagus with some olive oil, salt and pepper.  About 8 minutes before your chicken is done, spread the spears on the grate ( perpendicular to the grate mind you… don’t ask how I know this) and roll frequently until you have some nice grill marks but the asparagus is not limp.  No wimpy asparagus!!!!!!

If you have an extra lemon lying around, cut it in half and place on the grill 5 minutes before pulling the chicken.  Right before everything is done, squeeze some of that nice caramelized lemon juice over everything.  Yum.

Let the chicken rest about 5 to 10 minutes and dig in.